Electric Guitar Build 001

Painting? Routing? Set-up tips? Or just straight-up making a guitar from scratch? Post here, and post pics!

Moderated By: mods

User avatar
Chris Fleming
.
.
Posts: 507
Joined: Wed May 08, 2013 8:14 am
Location: Glasgow

Electric Guitar Build 001

Post by Chris Fleming »

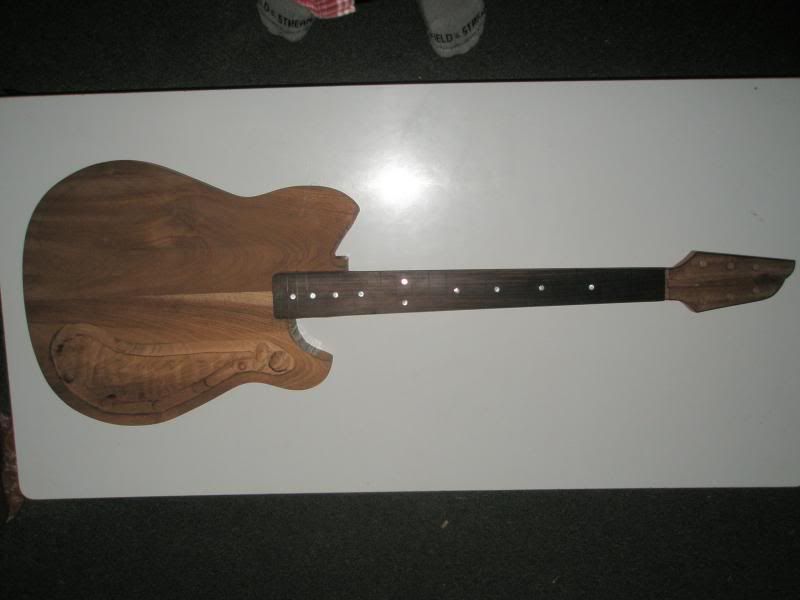
Here the guitar I've been working on for a bit. Think I mentioned it in my previous design thread before. Not done much to for ages as I'm needing to chamber out the body due to the weight of the thing and thickness it to accommodate a top plate. Finding it impossible to get access to the tools to do it though. I'm asking around at the mo and should hopefully be able to finish this fucker soon.

Also got to finish off the inside curves of the cutaways and heel block.
Image

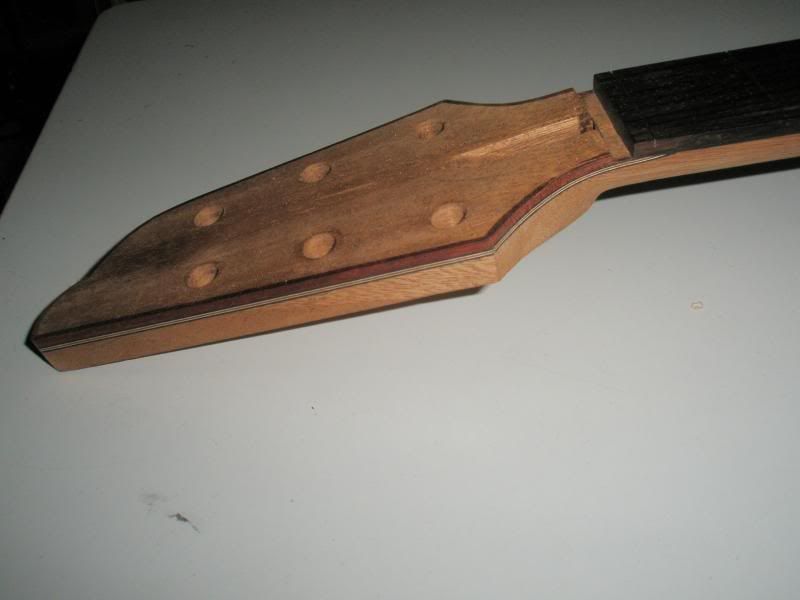
One problem I had was fitting bloodwood binding to the smaller curves on the headstock. The grain was running short all the way along the pieces I had prepared and would snap on pretty much every bend. Total pain. For the smallest curve I gave up and finally just carved a lump from some scrap bloodwood I had laying around, glued it in and cut it back. Looks fine now. Not the best at the mitering but it'll do.
Image

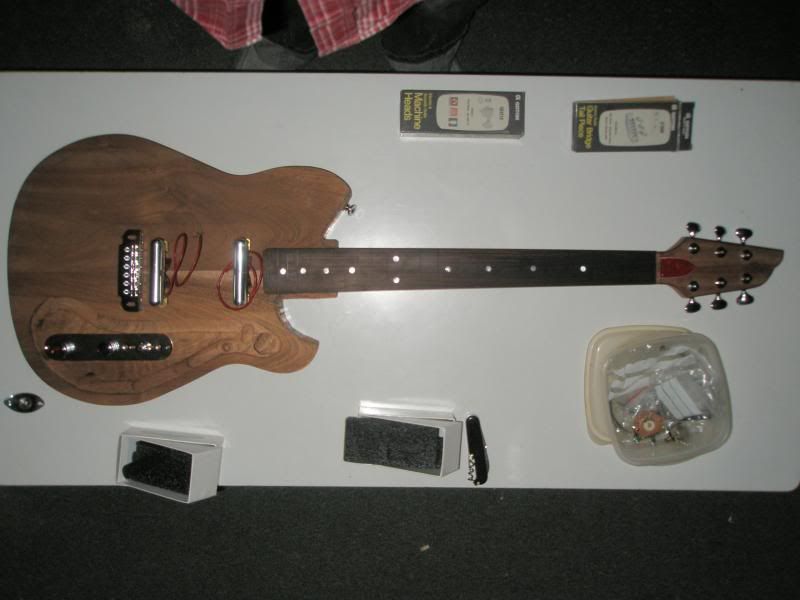
Here's what I had in mind for hardware - Gotoh 510UB wrap-around bridge, Gotoh SGV510 machine heads, 2x Kent Armstrong vintage Danelectro PU (neck PU is reverse wound), 1x vol, 1x tone, three way lever on a tele plate. For the pickgaurd and truss rod cover I'm using 3ply red pearl.

The top and headstock plates will be painted. Was thinking pale blue, darker turquoise or near black blue? Not sure yet, I want something that will slightly clash with the redness of the wood and pickgaurd, but be tonally different enough to not be garish. Was also considering a cats eye style f-hole? Not sure?
Image

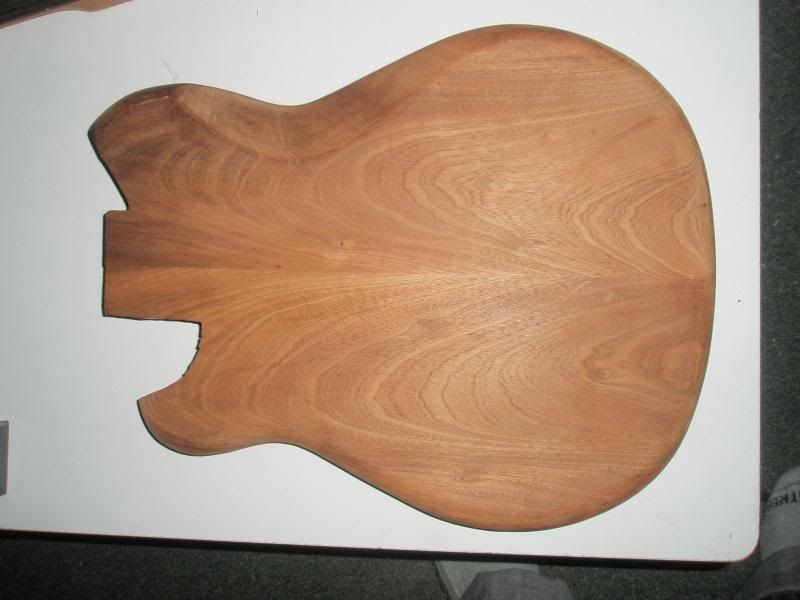
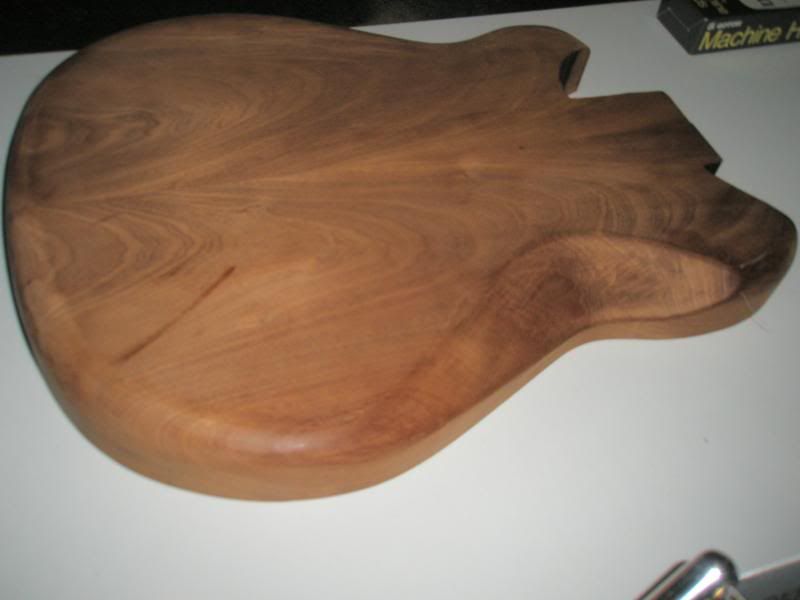
Some pictures of the back. I was quite happy with the way this turned out considering I did it all by hand... I really need to get me some decent power tools. Will go back and check the curve on the edge once I've done more to the cutaways.
Image


Image

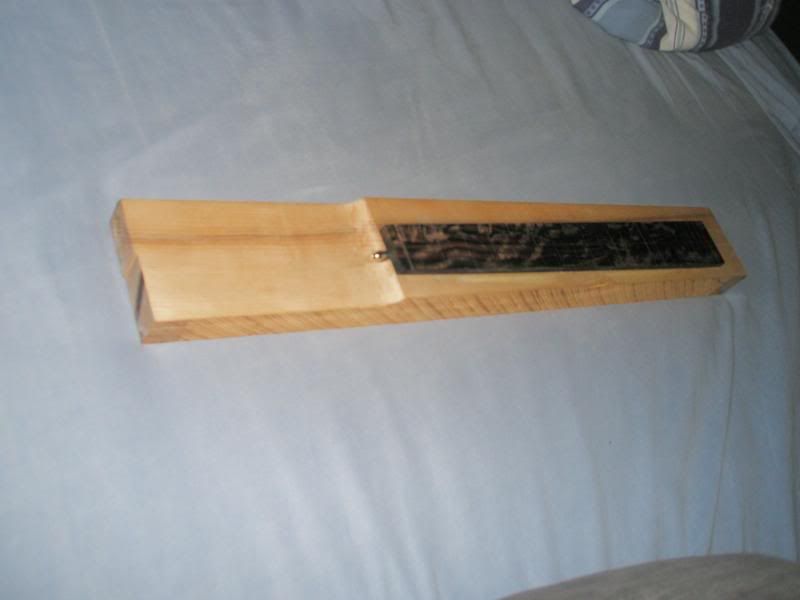
Oh... and this is the neck I'm working on for the design I had posted before. I'll post more in a separate thread anon.
Image
Last edited by Chris Fleming on Mon Sep 09, 2013 2:47 pm, edited 2 times in total.
User avatar
Chris Fleming
.
.
Posts: 507
Joined: Wed May 08, 2013 8:14 am
Location: Glasgow

Post by Chris Fleming »

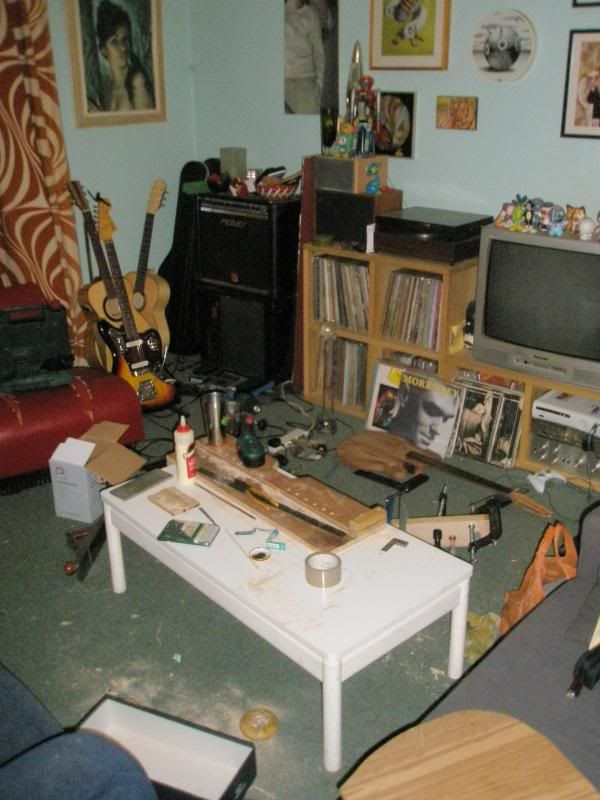
Yeah... and working on a coffee table in my bed/livingroom isn't the best. Need to get some sort of workshop!

Image
User avatar
Chris Fleming
.
.
Posts: 507
Joined: Wed May 08, 2013 8:14 am
Location: Glasgow

Post by Chris Fleming »

What type of drill/router bit is best for removing large areas of the wood to make it easier to route? Can't remember what you call that?
User avatar
robert(original)
.
.
Posts: 7174
Joined: Thu Apr 20, 2006 12:30 pm
Location: somewhere in the midwest

Post by robert(original) »

for bending, have you tried soaking in laundrey soap? I know that helps with figured maple and mohag
User avatar
robert(original)
.
.
Posts: 7174
Joined: Thu Apr 20, 2006 12:30 pm
Location: somewhere in the midwest

Post by robert(original) »

as for chambering, or removing large bits of wood i always used forsener bits. I know i spelled thst wrong
User avatar
Dave
TOTALLY MODD
Posts: 10431
Joined: Mon Jun 09, 2008 9:35 pm
Location: UK - Southampton

Post by Dave »

I like it! nice work.
iCEByTes wrote:5 Most Jizz face maker Solo�s , classic Rock music i ever listened.
iCEByTes wrote:Blunt a joint , Take the Touch , Listen this.
User avatar
Chris Fleming
.
.
Posts: 507
Joined: Wed May 08, 2013 8:14 am
Location: Glasgow

Post by Chris Fleming »

Ya it's forstner. Cheers, I'll get me one. Will try the laundry soap thing when I come to bind the body, there's two tight curves at the neck that will most definitely be bothersome. Think there some that might bend better anyway but every little helps. Ta much
User avatar
Joey
.
.
Posts: 1904
Joined: Sun Jul 27, 2008 12:50 pm
Location: Atlanta, Georgia

Post by Joey »

For plastic binding you can soak in it some hot water. Form it and tape it in place... when cool, remove it and glue it in place.


Wood binding, you may need to warm it up with a heat gun or blow dryer.


You can get away with a spade bit or any bit in general for stock removal. But yeh, we all use forstner bits...


Image
User avatar
Chris Fleming
.
.
Posts: 507
Joined: Wed May 08, 2013 8:14 am
Location: Glasgow

Post by Chris Fleming »

Dave wrote:I like it! nice work.
Cheers


Joey - My mate has a bending iron that I can use so I'll be ok to bend it, just the type of wood is a bit tricky on the tight curves. I've bound two acoustic guitars that I've made before so I do know what I'm doing. Cheers though, I never new you bend plastic binding like that
User avatar
Chris Fleming
.
.
Posts: 507
Joined: Wed May 08, 2013 8:14 am
Location: Glasgow

Post by Chris Fleming »

Quick question... the radius of the saddles on the Gotoh wraparound is 350mm or 13.78 inch. Would I be ok using the 12" radius block that I've got? The only sizes I have are 10. 12. 16 and 20.
User avatar
Chris Fleming
.
.
Posts: 507
Joined: Wed May 08, 2013 8:14 am
Location: Glasgow

Post by Chris Fleming »

Just wondering as I've already profiled the fingerboard with the 12" block, but need to do a bit more to get it spot on, and if I'm going to change it, now would be the time as I'm going to fit the frets in the next few days. Is going to be that noticeable? Could maybe see I can get a hold of a 14" block?
User avatar
cur
.
.
Posts: 7298
Joined: Sun Jan 18, 2009 8:58 pm

Post by cur »

I would think that I would not really be that noticeable. The flatter radius bridge would probably, when the D and G strings were set to the proper non-buzz height, only raise the high and low E strings a fraction of a millimeter. You can take a string and a pencil and trace 12" and 14" radius to see that with the ~2" width of the neck at the butt end it will not be much at all.

I think there has been recent threads about this (maybe honeyischool swapped a roller bridge onto one of his mustangs or something like that).

Image
Image
User avatar
Chris Fleming
.
.
Posts: 507
Joined: Wed May 08, 2013 8:14 am
Location: Glasgow

Post by Chris Fleming »

Right enough... I checked using illustrator and there's barely any difference between the two at the top of the curve where the finger board would be. Cheers
User avatar
Chris Fleming
.
.
Posts: 507
Joined: Wed May 08, 2013 8:14 am
Location: Glasgow

Post by Chris Fleming »

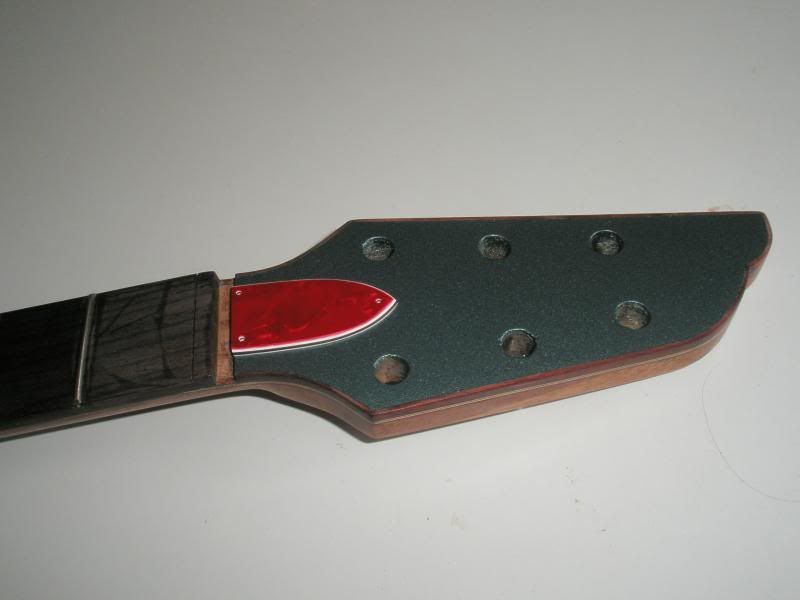
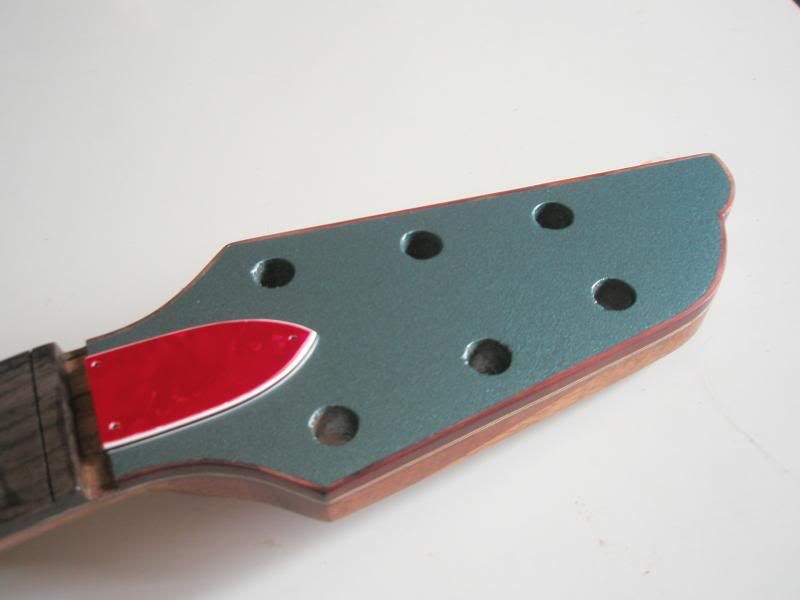
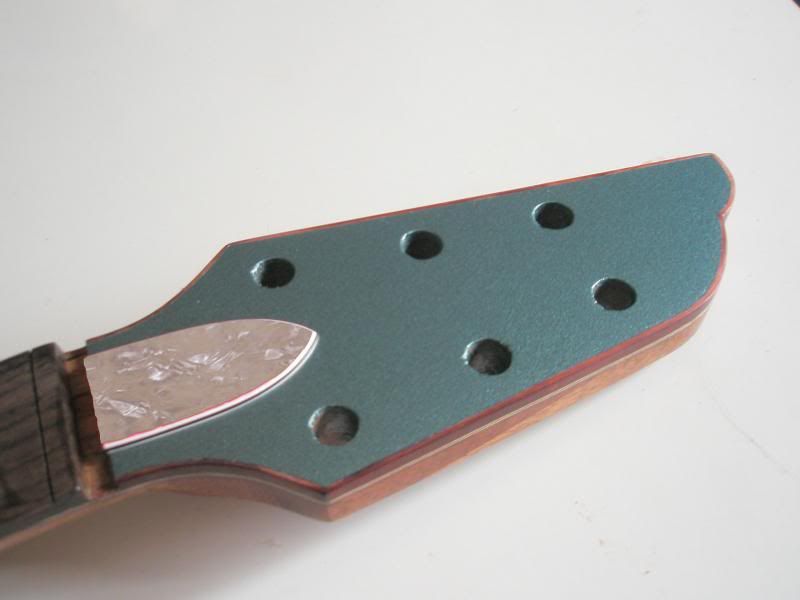
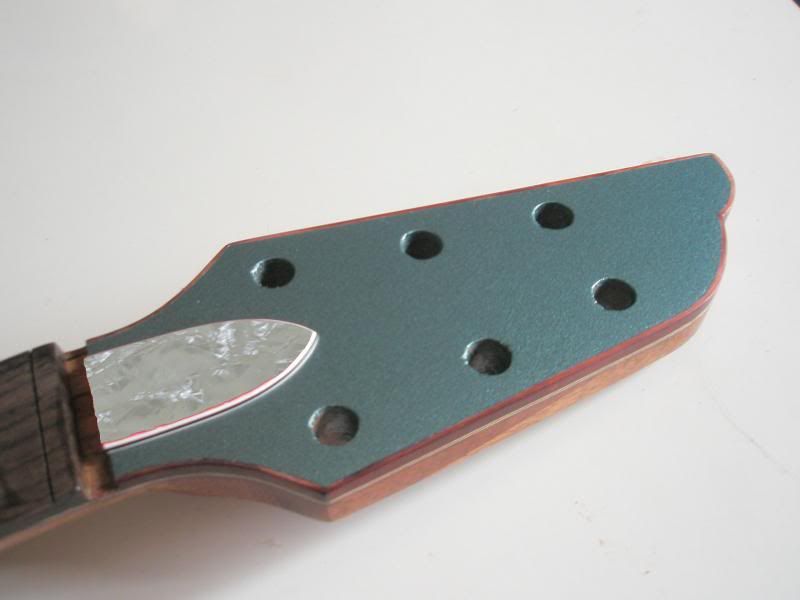
Quick update - Got the paint I ordered through and sprayed the headstock. Forgot the primer but it seems to have pretty good coverage and I had sealed the neck with Z-poxy, which worked pretty well. The colour is pretty much what I wanted but I think the red pearl might be too much against it? I'll be able to judge it better once the clear coat goes on, which I should hopefully get through in the next few days.

I put it on on really thin layers but it still seemed to show up. Is it best to leave the slight orange peal and sand it smooth when clear coating?

Image

Image

Image
User avatar
Chris Fleming
.
.
Posts: 507
Joined: Wed May 08, 2013 8:14 am
Location: Glasgow

Post by Chris Fleming »

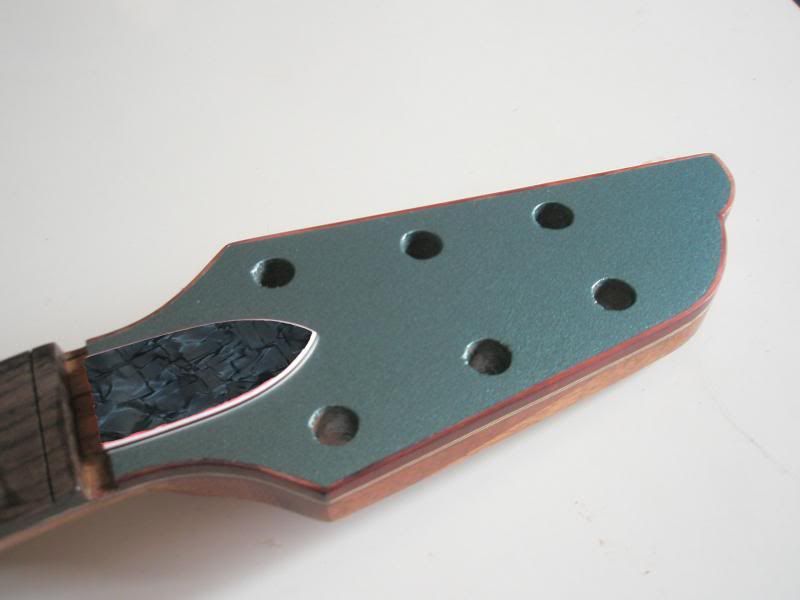
Did some quick mock ups of other colours.

Parchment/vintage Pearl
Image

Mint Pearl
Image

Black Pearl
Image

Think I'm liking the mint? or black?
User avatar
cur
.
.
Posts: 7298
Joined: Sun Jan 18, 2009 8:58 pm

Post by cur »

mint pearl then black then white.

Image
Image
User avatar
robert(original)
.
.
Posts: 7174
Joined: Thu Apr 20, 2006 12:30 pm
Location: somewhere in the midwest

Post by robert(original) »

mint
User avatar
DGNR8
.
.
Posts: 4220
Joined: Sat Sep 30, 2006 2:51 am
Location: DC Area

Post by DGNR8 »

Very nice. I like the body—it looks reminiscent of the Gretsch Astro Jet. I have to say though that the headstock shape, though simple, is inspired.
Yell Like Hell
User avatar
Chris Fleming
.
.
Posts: 507
Joined: Wed May 08, 2013 8:14 am
Location: Glasgow

Post by Chris Fleming »

Ya... think I'll got with the mint. Pretty tricky to source though for a decent price. Found some on ebay though so shouldn't be too bad.

DGNR8 - Cheers. Thought it was totally original when I first came up with the shape but soon found a few with similar cutaways but like mine more so hey. Inspired headstock, very kind. I came up with it when designing my acoustic for second year at college. The idea being that I wanted the strings to run straighter than the did with the Martin or Gibson style as they almost collided with the string pole and looked messy. Found it quite an awkward shape though til I came up the double hump thing, which I based on wanting it to have a deco feel but couldn't get the stepped block type thing to work so went with curves instead. This one isn't as accurate as it should be as I had to mess with it to get the binding to fit. Bloodwood is a pain
User avatar
Chris Fleming
.
.
Posts: 507
Joined: Wed May 08, 2013 8:14 am
Location: Glasgow

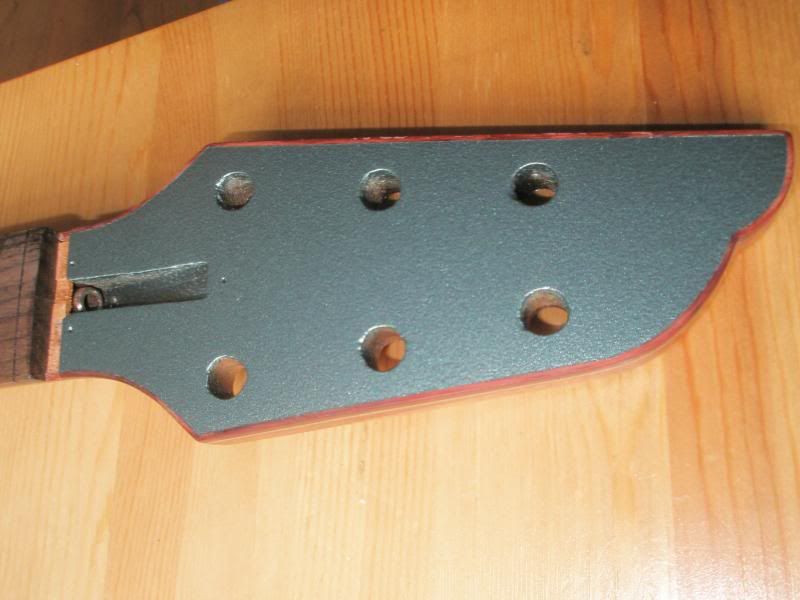
Post by Chris Fleming »

Oh... woke up at stupid o'clock and decided to sand and respray the headstock. So far, so good. Think I was spraying a touch too close or going over to many times because it's such a small area. Will undercoat properly from now on.