Page 1 of 1
Building my wife a violin
Posted: Wed Apr 16, 2014 6:23 pm
by torchindy
So my wife has always been an amazing musician - she plays the piano at some high conservatory level, guitar, and violin. The violin is her favourite though, and she's only got a couple of mediocre ones. So I decided I'd try my hand at building one of the kits from StewMac for her, for her birthday which is coming up. I'm a carpenter by trade so all the woodwork stuff is pretty familiar to me, but this is the first acoustic instrument I've built. I'm going to stain it using ReRanch green wood dye (green is her favourite colour) and then spray a nitro topcoat. Going to try and do a wiped-on burst on the top. Non-traditional finish for violins, but it seems to have worked for acoustic guitars forever, so...
Anyway I've been home sick for a couple of days which has given me the chance to get started. Yesterday I sanded the thing forever down to 320(I think it's only rough-cnc'd before it's sent out). Also shaped & sanded the neck etc.
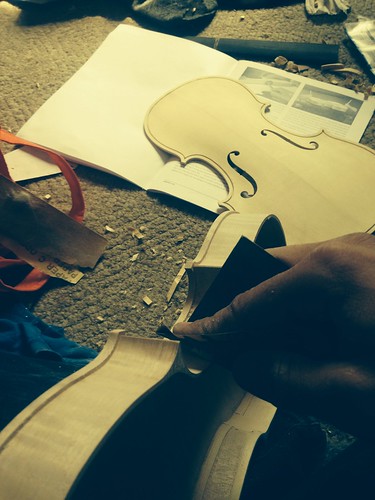
carved the bass bar by hand, then sanded & glued in. I made a custom label with her name on it and glued it inside, below where the F hole will be. Then after test fitting I glued the top on:
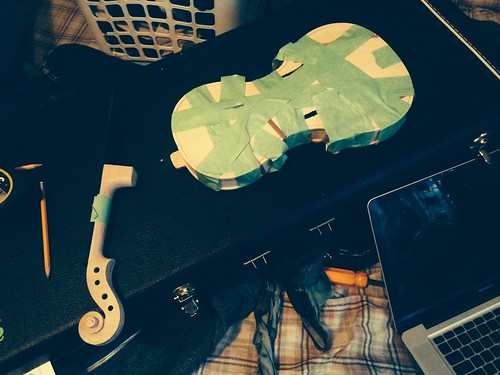
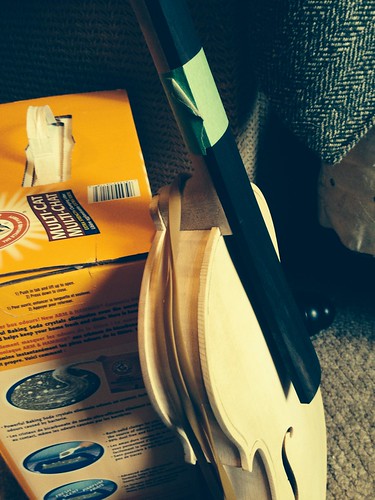
Oh yeah, last night I hid it in my Jag case to dry. She never has reason to look in there.

Posted: Wed Apr 16, 2014 10:15 pm
by torchindy
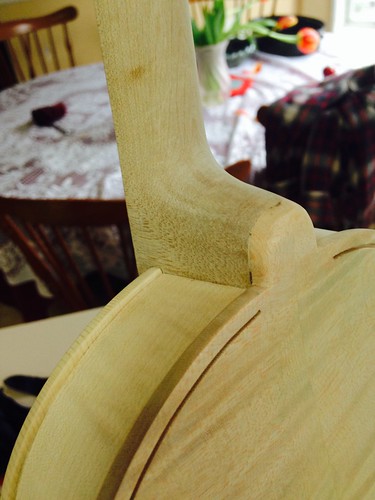
Today I cut the mortise for the neck. Easily the most finicky thing I have ever done to a piece of wood. Had to be exact! A paper's width too much or too little in any spot means it wouldn't be at the right angle for the bridge, and too wide and the neck wouldn't have any strength. Too narrow and it obviously wouldn't fit.

and after checking and checking again, glued in to wait until tomorrow for final sanding and the first coat of the dye. The heel looks like hell where it hits the back but I'll fix that tomorrow.
Posted: Wed Apr 16, 2014 10:26 pm
by YuriK
Super cool
Looks really nice so far
Posted: Wed Apr 16, 2014 11:08 pm
by theshadowofseattle
Way rad. And awesome story behind it to boot. Can't wait to see the finished project.
Posted: Fri Apr 18, 2014 5:44 am
by torchindy
Thanks guys. I hope it turns out well.
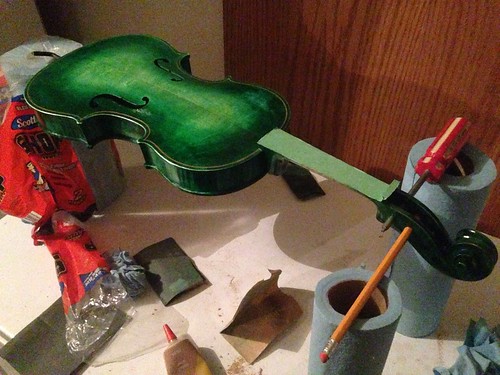
Tonight i fixed the mooked up neck heel with a lot of filing and sanding:
next I sanded everything forever to get it as close to perfect as I could for the dyeing. Then I mixed up the dye.
Tonight I learned that dye, versus stain or something, is a horrible thing that I wouldn't wish on anybody. Also, ReRanch's water-based dye isn't water-based, which I discovered after trying to mix it with cold water, hot water, boiling water, bringing water from cold to a boil with the dye in it, and blending it into water in the blender. After angrily reading through the website I realized that the dye also mixes with lacquer thinner, which I had some, and it dissolved instantly. Only problem is that lacquer thinner evaporates in about ten seconds, leaving me nearly no working time putting the dye on.
after lots of trial and error I managed to make a somewhat ok burst by dabbing the dye on and then swirling a rag soaked in thinner around over the dabs.
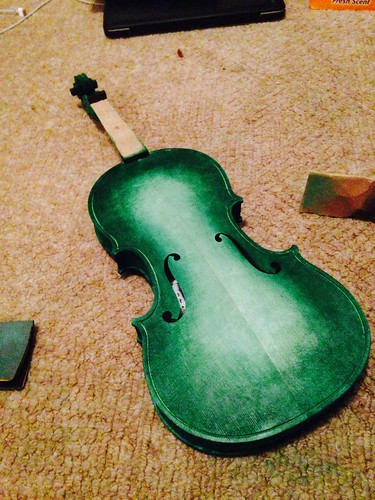
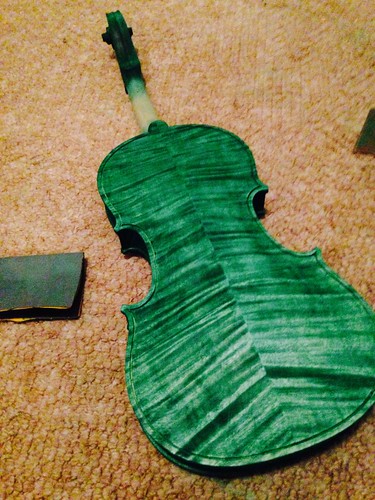
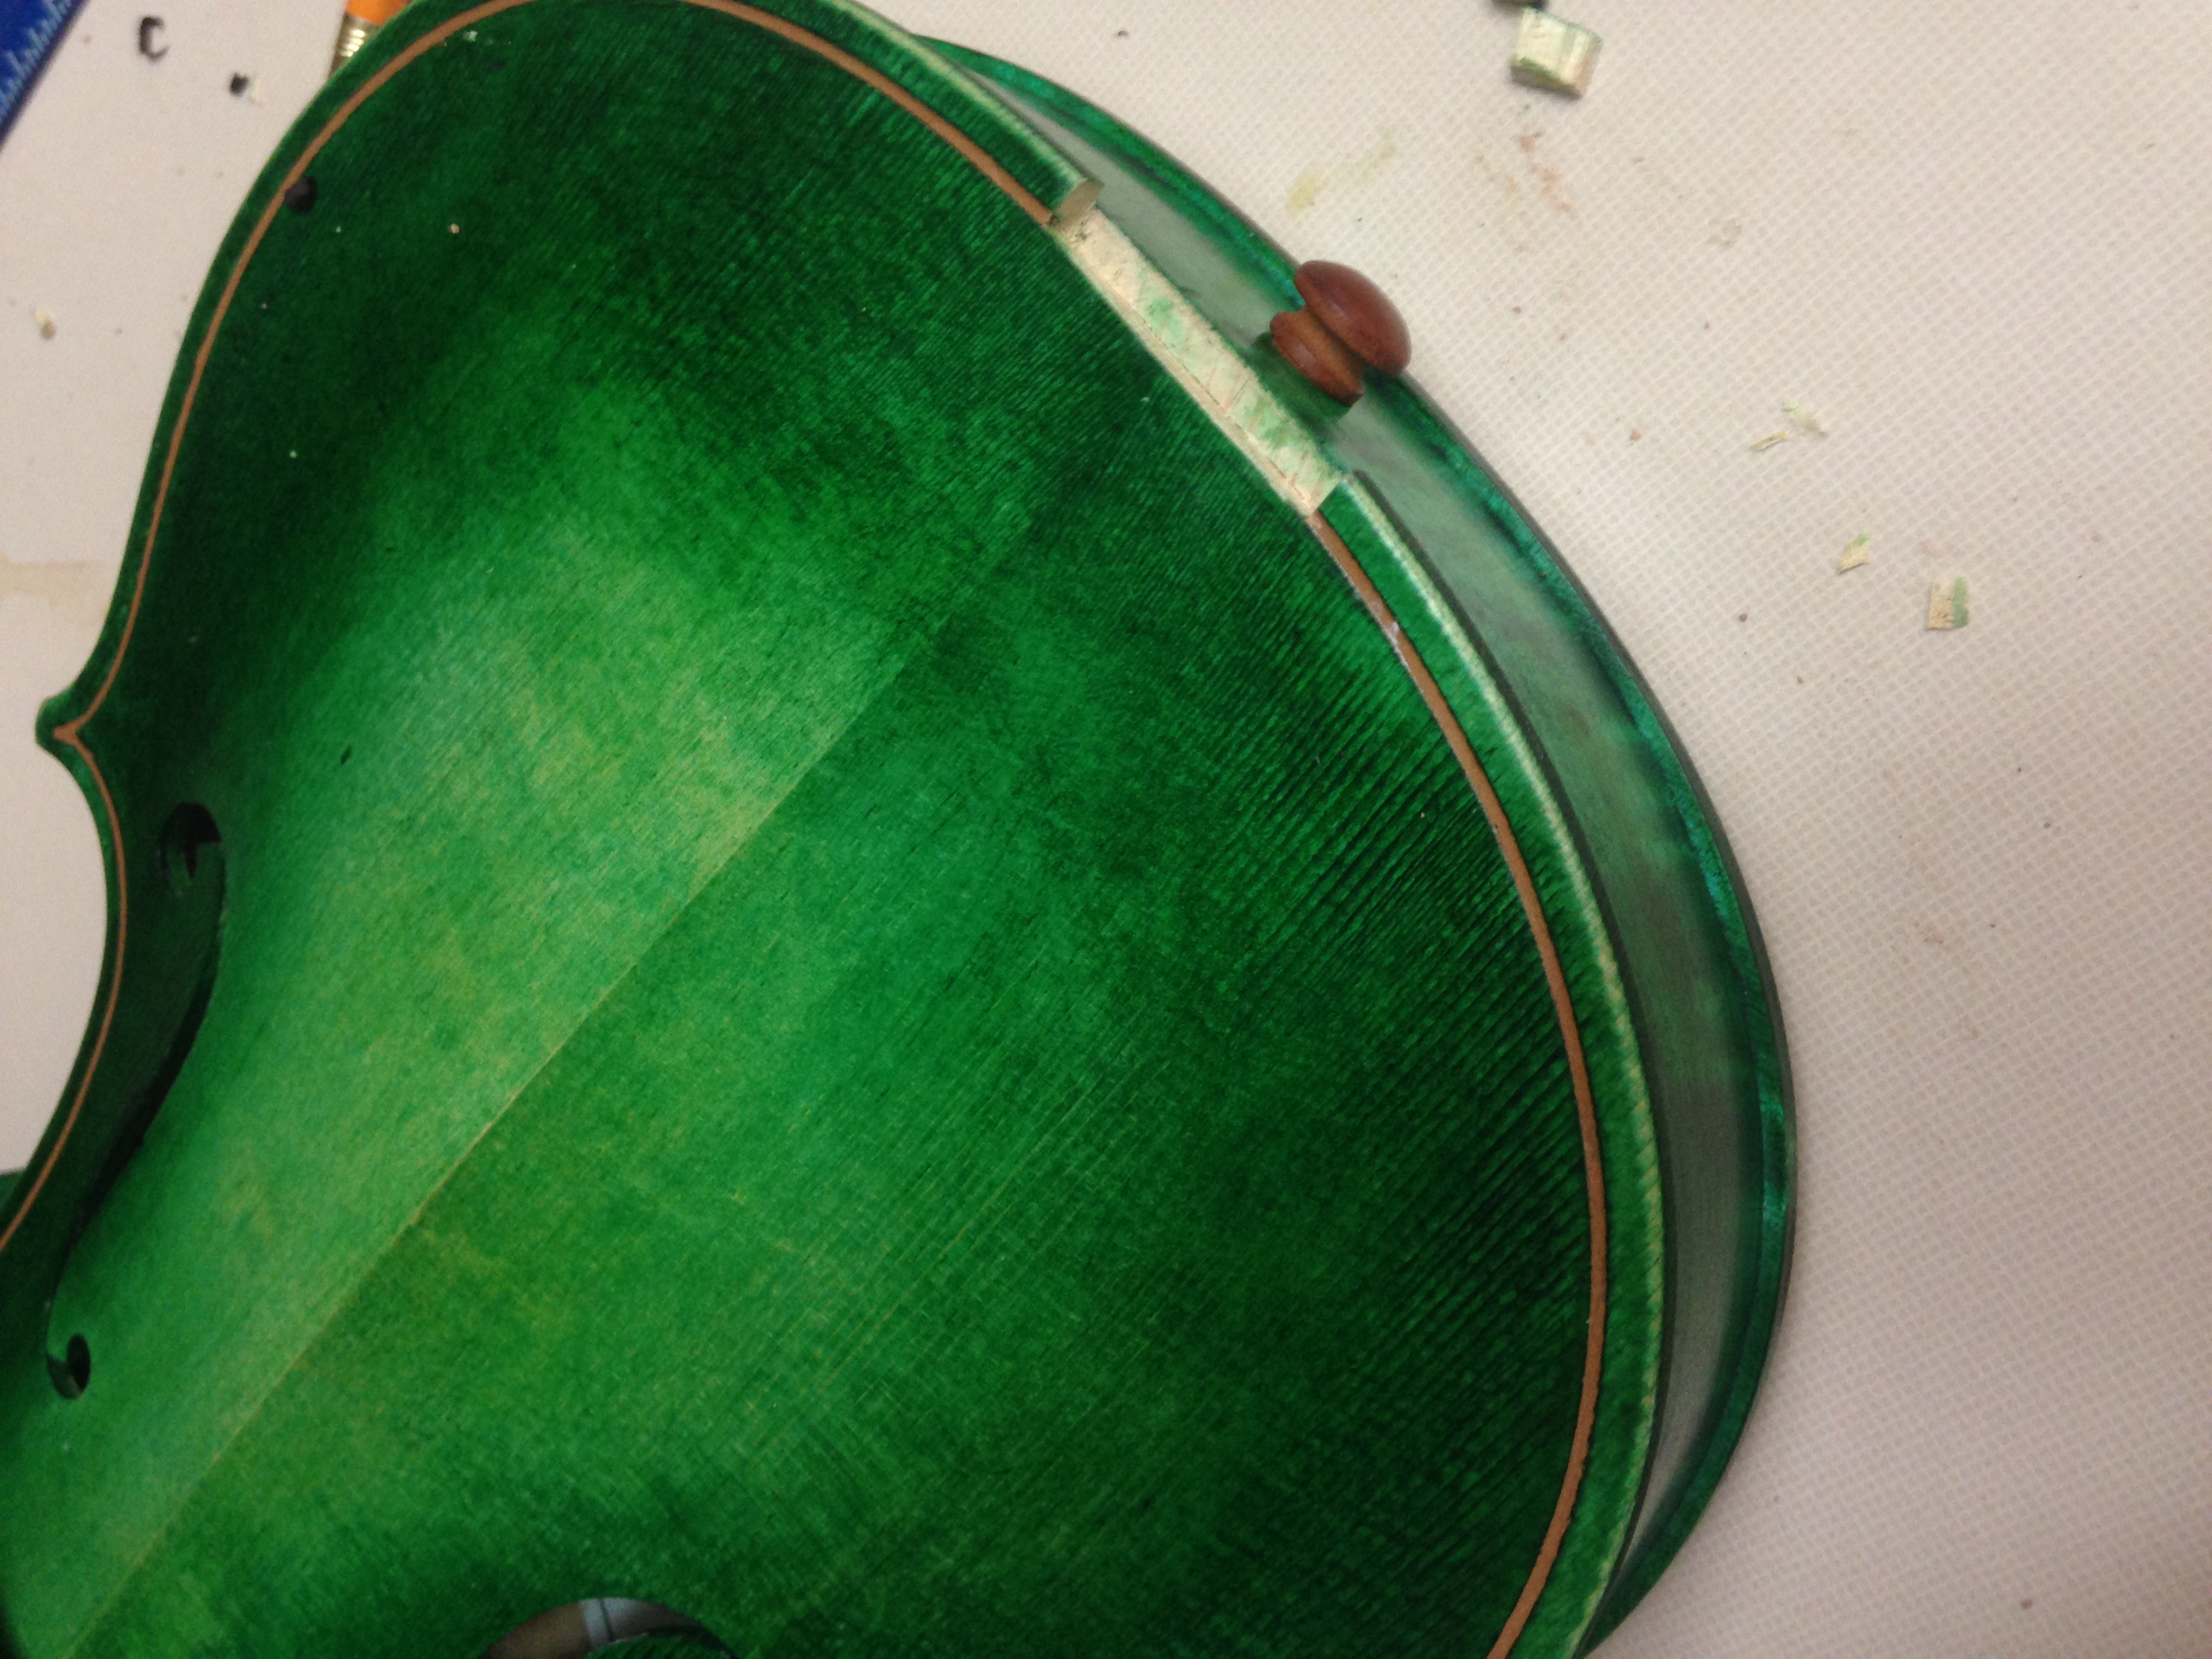
the back turned out killer though.
tomorrow I'll spray the nitro, which I'm hoping will absorb some of the dye and soften the burst up a little.
Posted: Fri Apr 18, 2014 5:54 am
by Beau
Wonderful!
Posted: Fri Apr 18, 2014 1:06 pm
by YuriK
Dude, that paint lools awesome.
Posted: Fri Apr 18, 2014 2:07 pm
by Concretebadger
That's a beautiful thing.
As in, you seem to be making a really nice job of it, but the story behind you making it is its own kind of awesome. Looking forward to seeing how it turns out.
Posted: Fri Apr 18, 2014 3:40 pm
by theshadowofseattle
The back looks AWESOME. that fiddle has a banging donk on it.
Posted: Fri Apr 18, 2014 5:30 pm
by dezb1
Nice job, and an even nicer thought behind the build... Looking forward to seeing the finished article... Get your wife to do an demo
Posted: Fri Apr 18, 2014 7:27 pm
by Thom
Fantastic. It's nice to see something so different. Am sure your wife will love it.
Posted: Sat Apr 19, 2014 5:01 am
by torchindy
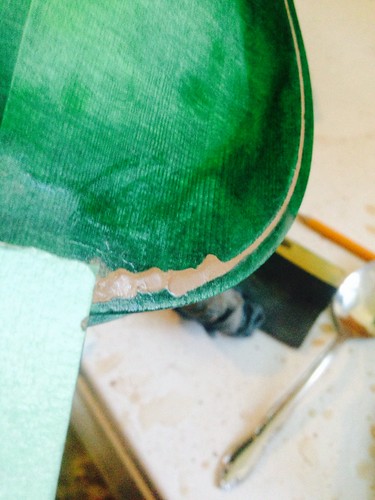
So last night I gave it a quick shot of lacquer before bed and this morning I bought some brown wood filler stuff that matches the tailpiece and tuners and things. I put it in the channel around the top and bottom edges where the kit said to put wood purfling. I didn't really like the purfling they gave and I think this will bring it all together nicely anyway...
after it dried I rubbed it away with a damp cloth until only the stuff in the channel was left.
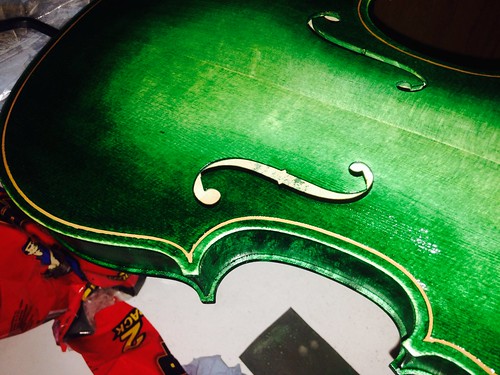
After that was done I sprayed it with a couple more coats of lacquer. Well, like four. The lacquer sort of smoothed and deepened everything. The slight yellow tint is making the green a beautiful emerald colour, and the brown filler almost looks like gold. I also discovered that I can use a brush and the leftover lacquer thinner / dye mix to do touchups to the green between lacquer coats.
My deadline is looming (her birthday is the 20th... eek) but I think things are coming together...
Posted: Tue Apr 22, 2014 5:22 pm
by 71Smallbox
That looks amazing! Nice work.
Posted: Thu Apr 24, 2014 9:23 pm
by torchindy
Sorry for the delay, I've been simultaneously busy with work and sick these last couple of days, which has left me with very little time to do anything else.
Anyway, everything went off without a hitch. Here's how it all went down.
The night before her birthday I was still putting it together, and I was starting to get a little bit stressed. I glued on the fingerboard, then I cut a notch for the tailpiece saddle and glued it in, then cut the nut and shaped and cut the bridge. I had to kind of dive in headfirst, since at this point I couldn't fix anything I screwed up (all very frightening, since the closest I've come to anything like that was setting intonation on a guitar - never cut a nut or anything).
I have discovered that it is a colossal pain to string a violin for the first time, since the tailpiece is just sort of hung off the endpin and the bridge isn't attached, and the strings just sort of wrap around the pegs and go through some holes. Took me several tries to get it to all stay together long enough to get the next string on. But in the end I had it together and everything was cool.

At around 1 a.m. I was done and it was mostly in tune so I put it on her piano for her to find in the morning. The pegs need to be waxed and cut down in order for it to hold tune well, and the finish still needs to be wet sanded and polished, but I think I did ok for the timeframe I had...
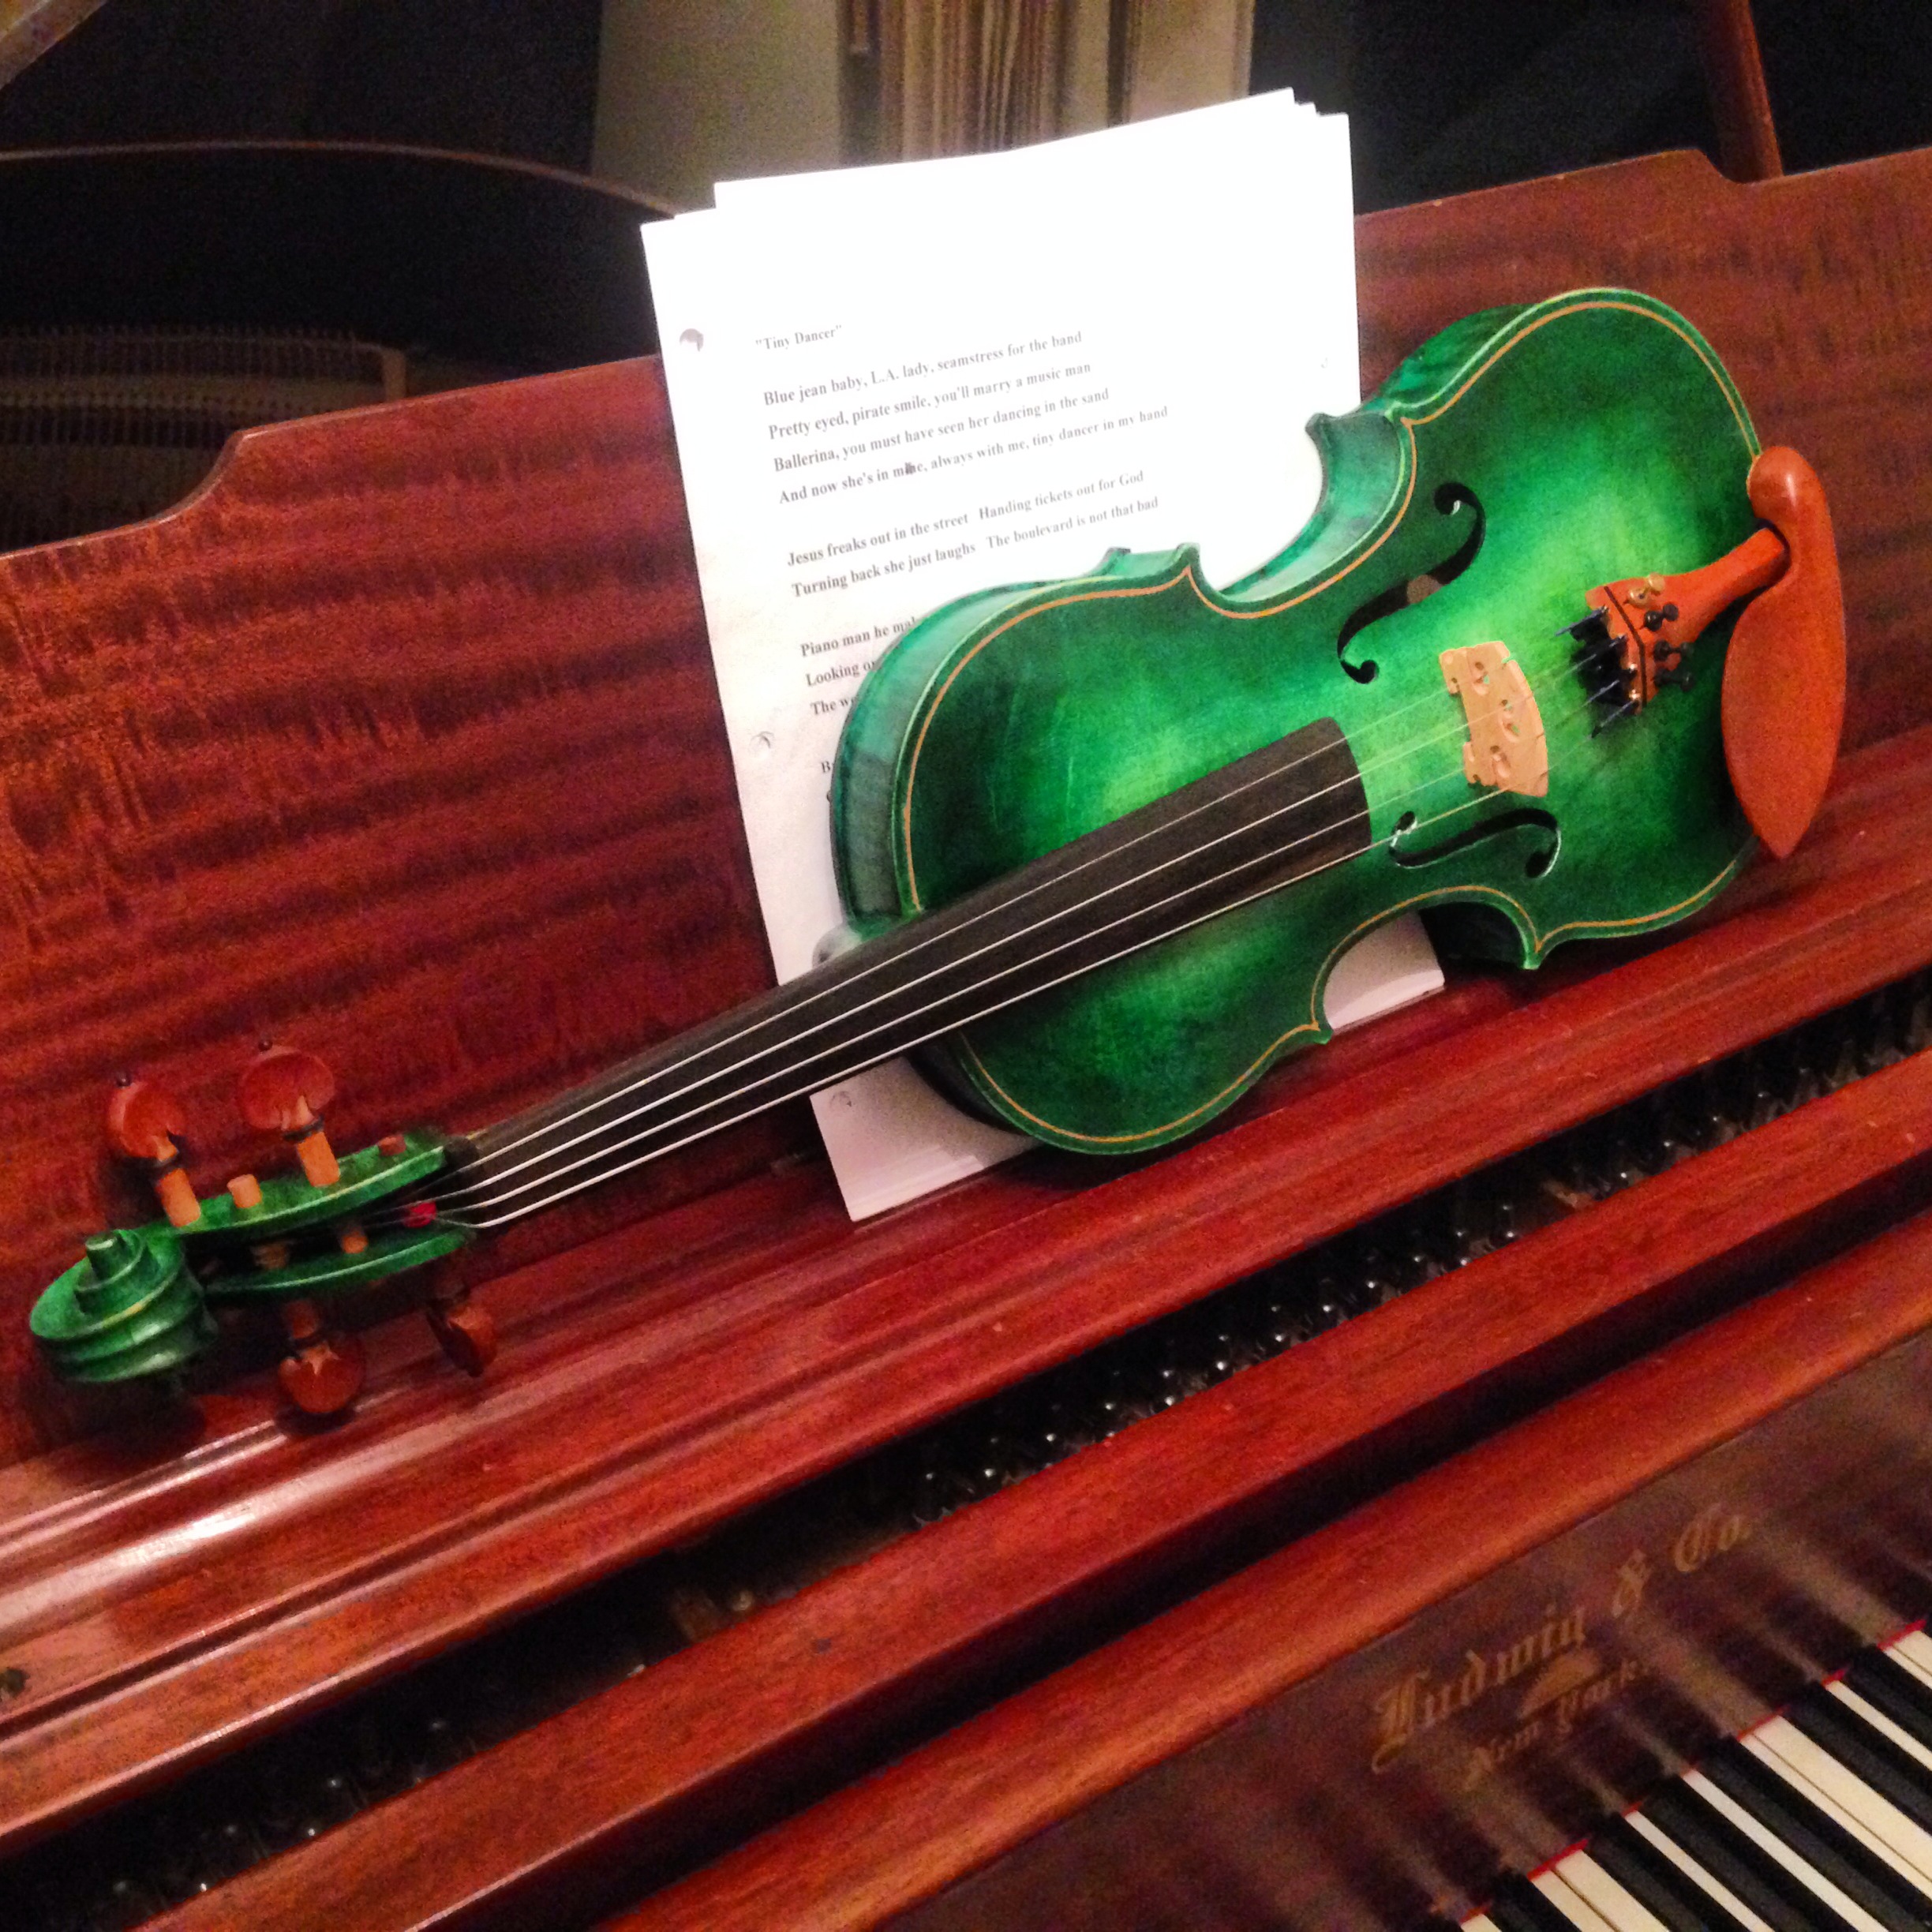
She loved it.

Posted: Fri Apr 25, 2014 9:58 pm
by Zack
Your wood filler idea really fits nicely with the naturally stained wood pieces. Lovely project, the green on the flamed maple is really unique.
Posted: Fri Apr 25, 2014 11:00 pm
by BobArsecake
Wowsers! That's tremendous :D
Posted: Sat Apr 26, 2014 10:22 am
by Concretebadger
A+ thread. I'm glad it turned out okay and your wife's happy with it...she's a lucky lady indeed. It really does look like one of a kind.

Re: putting the strings on. After hearing that, I'm never going to complain about my jazzmaster/mustang bridges again!
Posted: Sat Apr 26, 2014 11:17 am
by YuriK
It really came out beautiful.
Posted: Sun Apr 27, 2014 7:34 pm
by torchindy
Hey thanks guys. I'm trying to convince her to do a demo, but she's shy and wants to practice a little more with it.