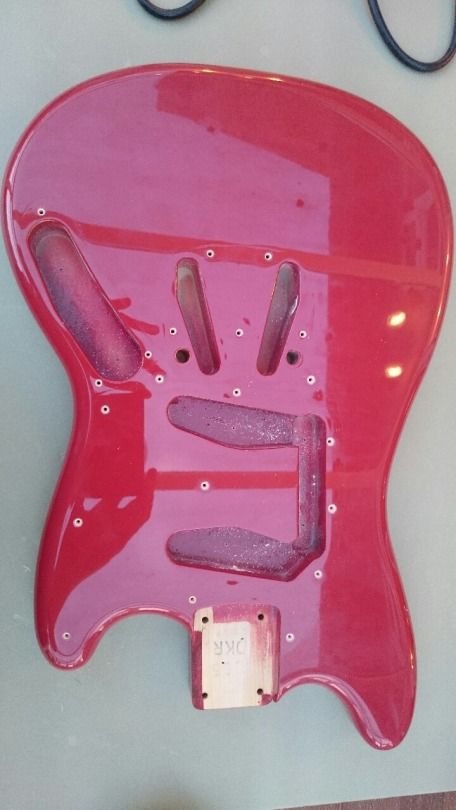
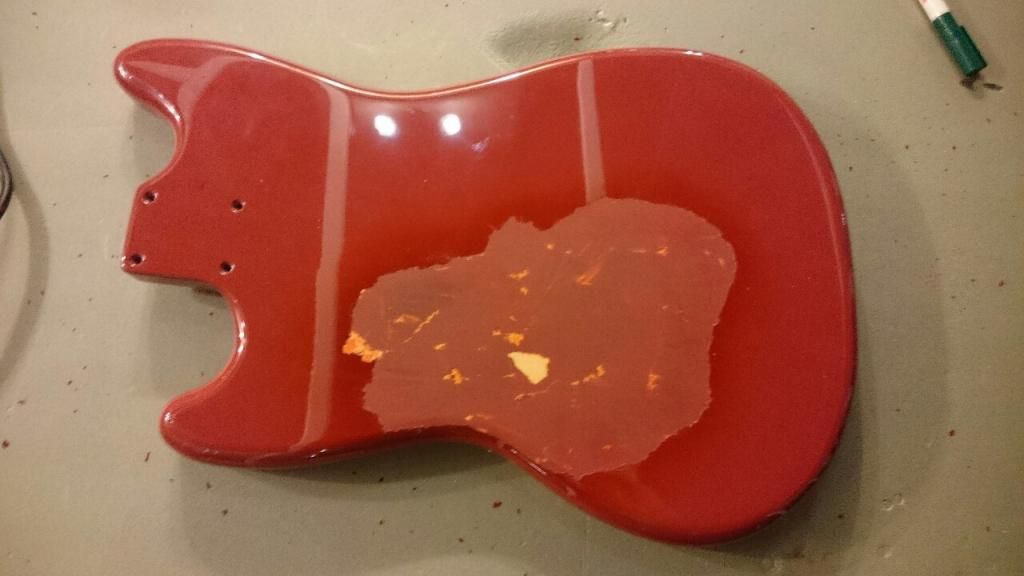
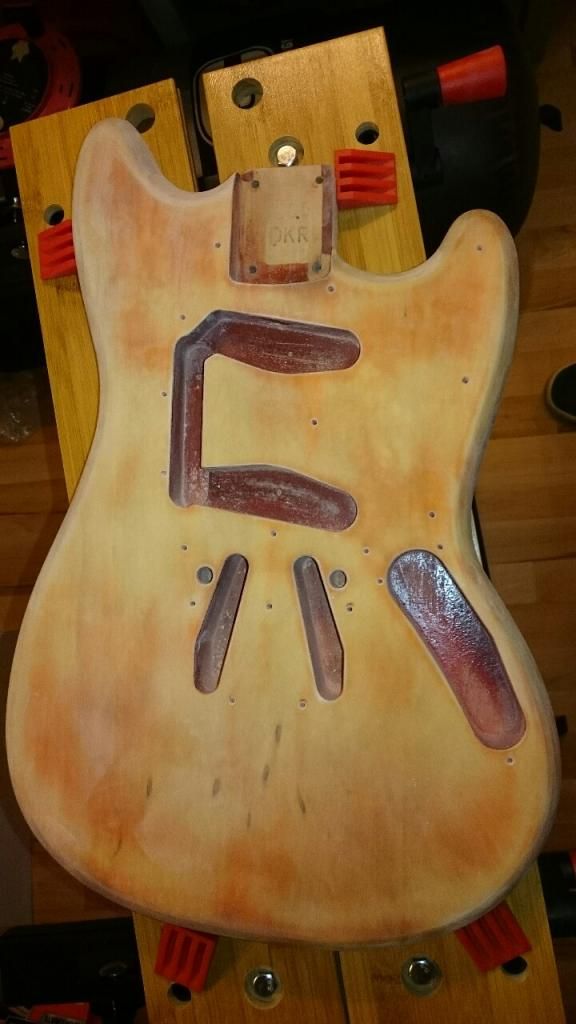
I thought the paint would just peel off with some heat. Turns out it stinks out the joint with toxic bubbles and leaves a load of undercoating. Oh well. I had a respirator on, but my wife learned a valuable lesson about letting me do projects in the conservatory...
Last edited by SherwoodJim on Wed Feb 04, 2015 11:14 pm, edited 1 time in total.
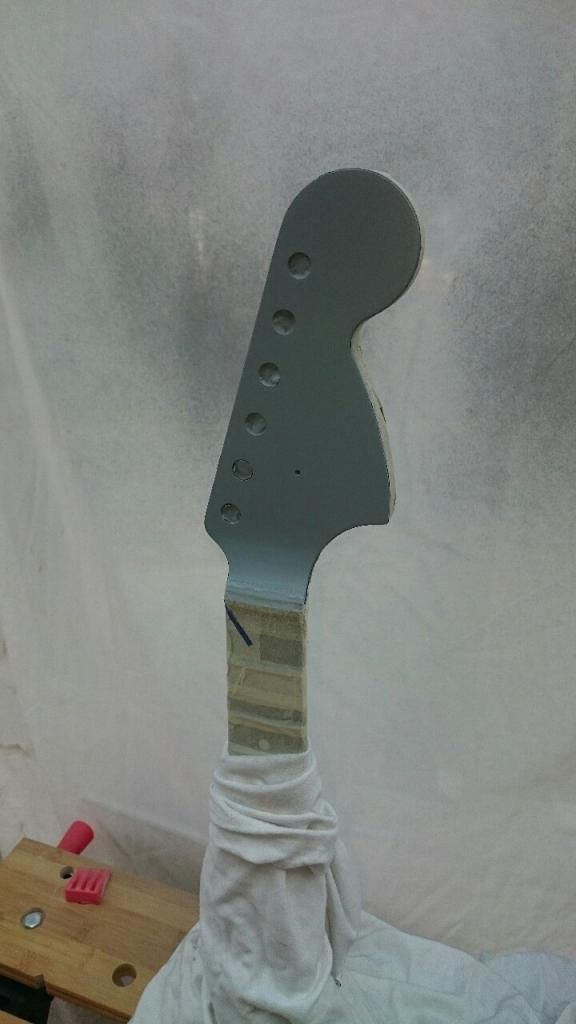
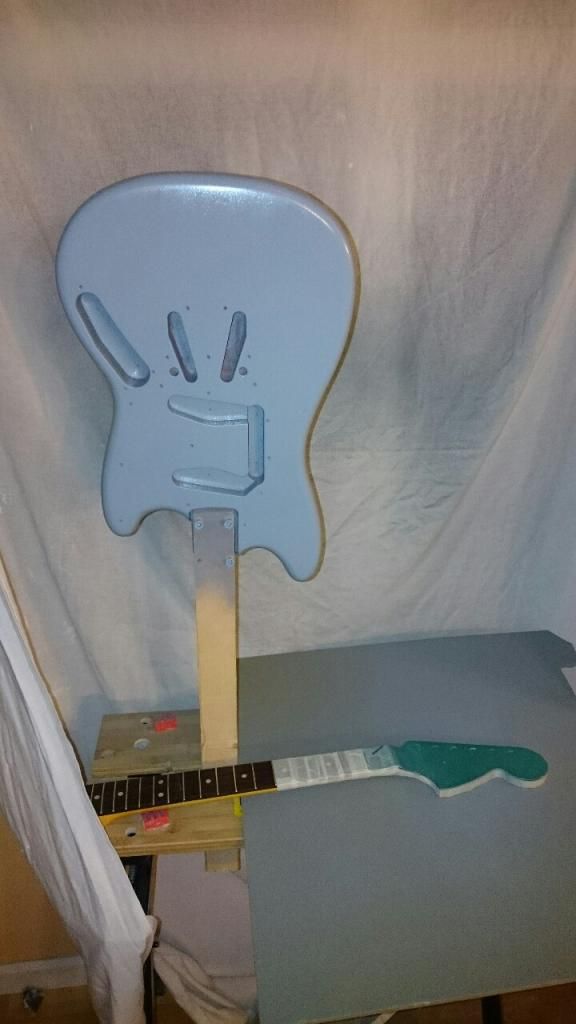
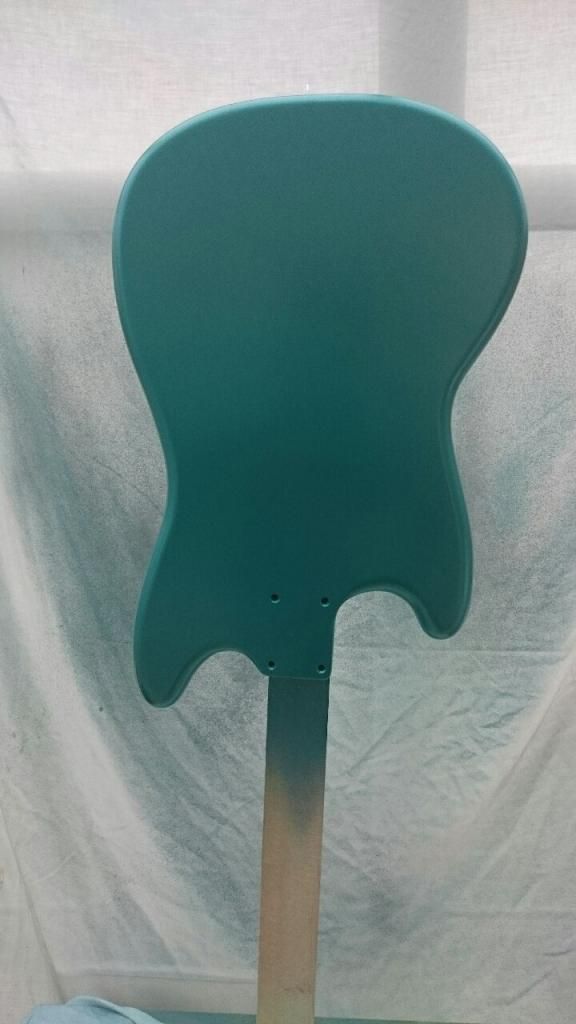
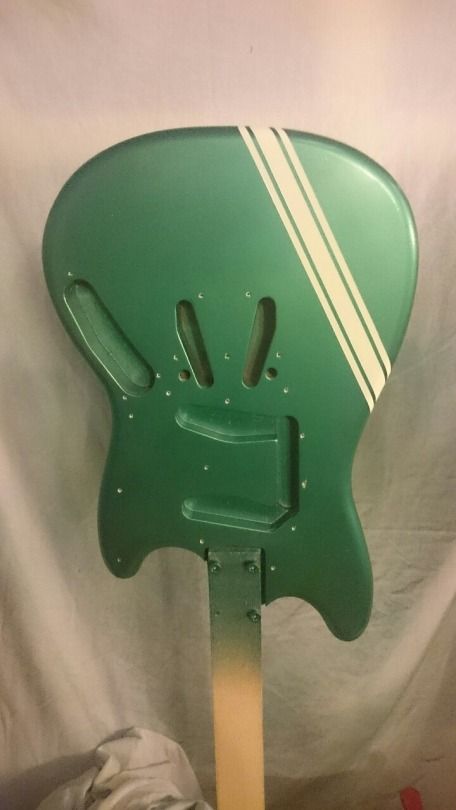
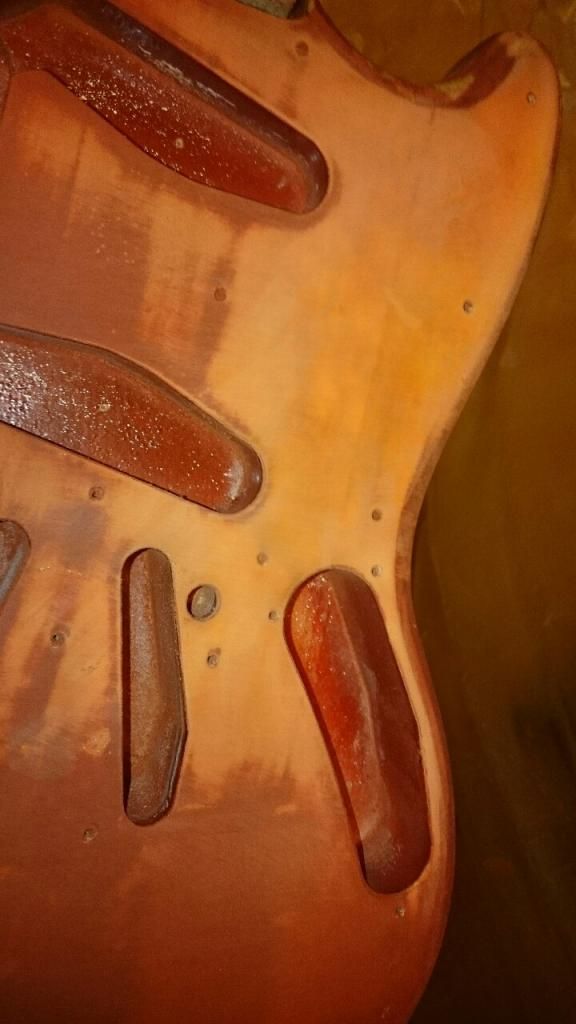
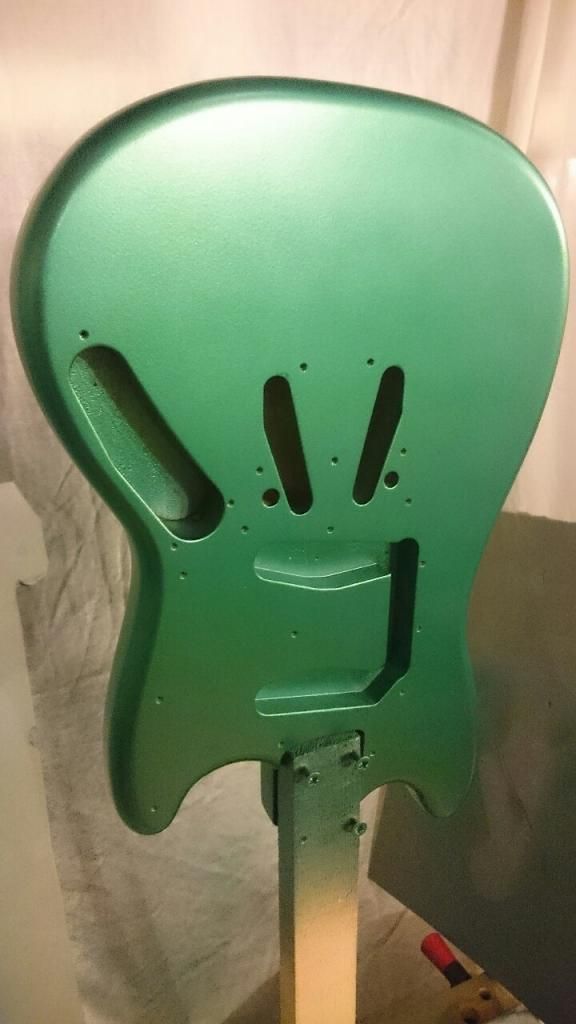
I thought a grey undercoat might bring out the metallic without being too bright. My plan is to darken the paint with tinted clearcoat layers. That will also tint the vintage white comp stripes. Yup, comp stripes.
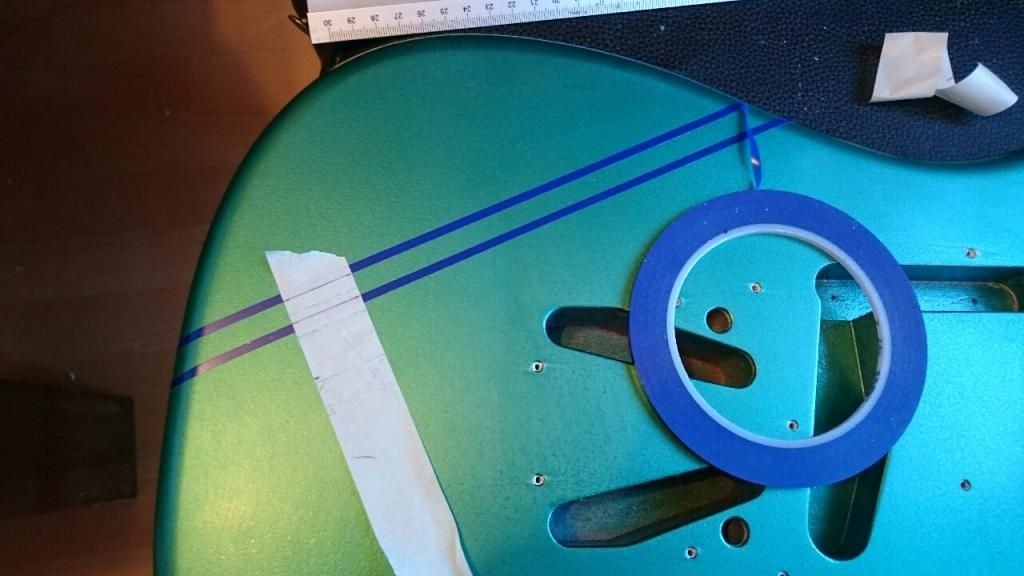
More to come. I'm going to sand down the clearcoat flat, then paint on the vintage white comp stripes before finishing with some tinted clearcoat on top.
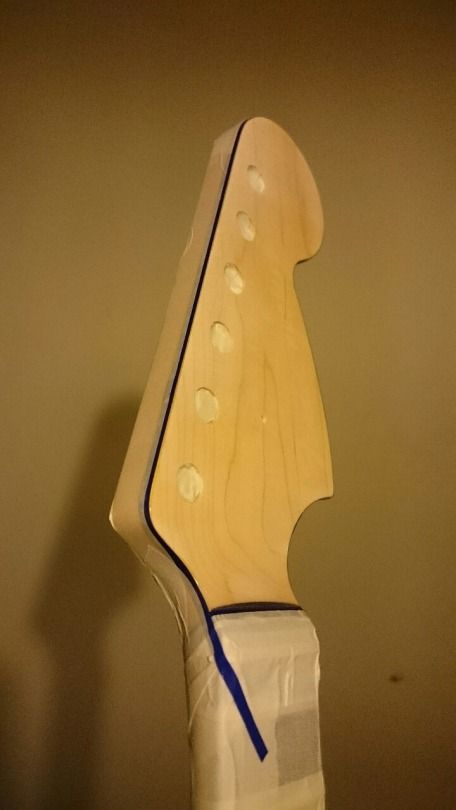
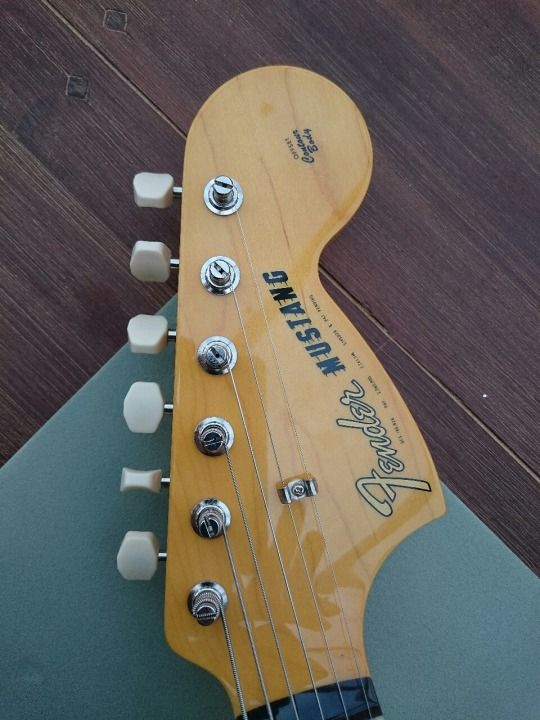
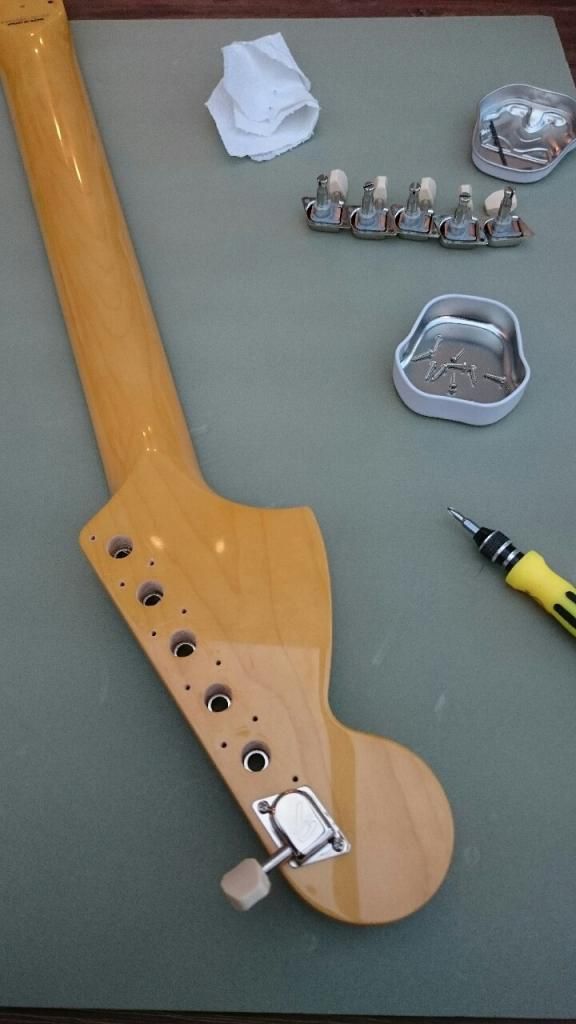
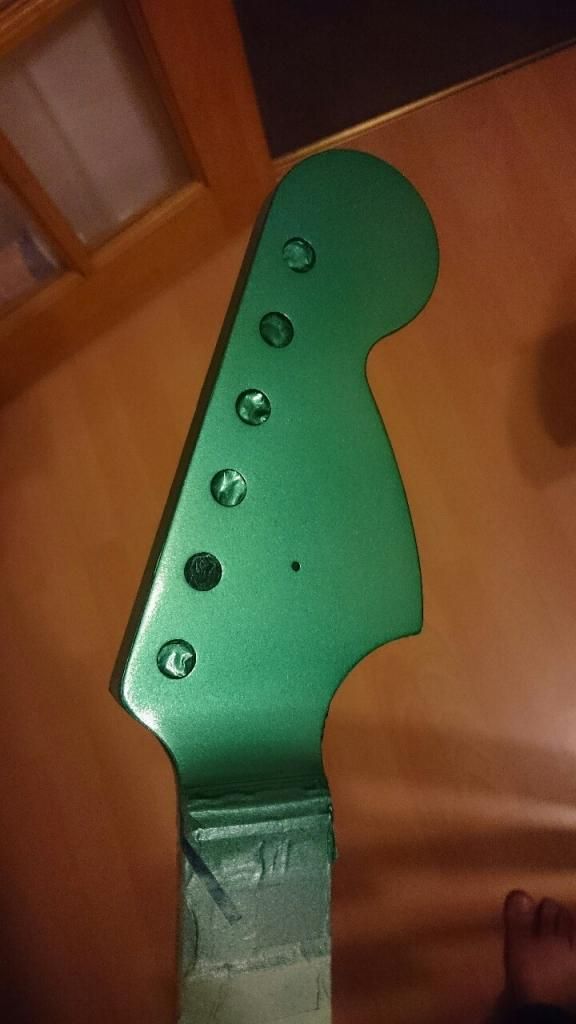
I've got a great decal to go on the headstock once that is sanded and buffed. Gotta leave the nitro to cure first though...
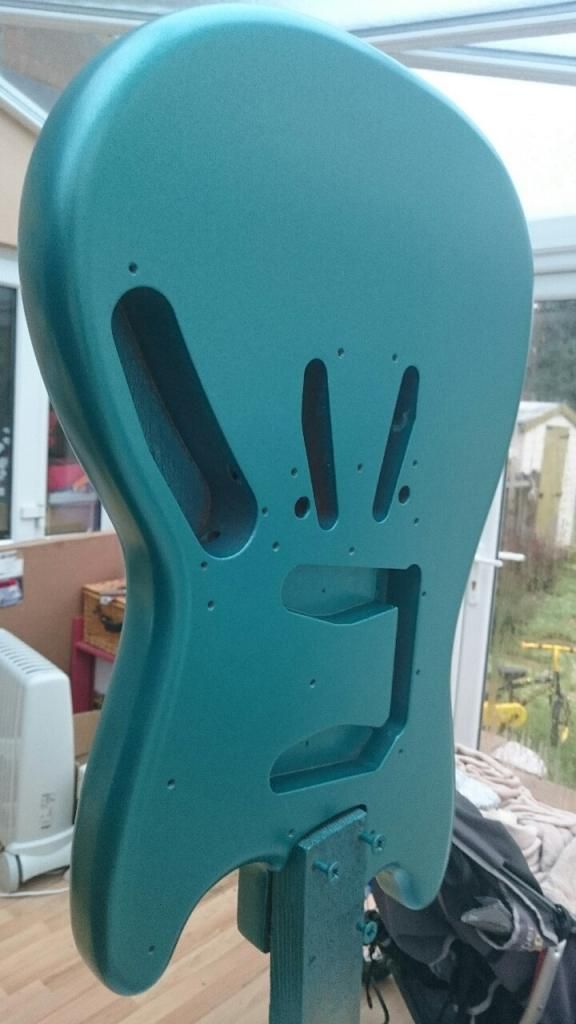
It was a toss up between OTM and Sherwood. I toyed with the idea of using amber clearcoat on OTM to turn it more greenish, like you see a lot of Lake Placid Blue faded and yellowed into a green colour over time. In the end I just thought SG was closer to what I was after. Maybe OTM for the next one...
singlepickup24 wrote:Beautiful! Anything left to do?
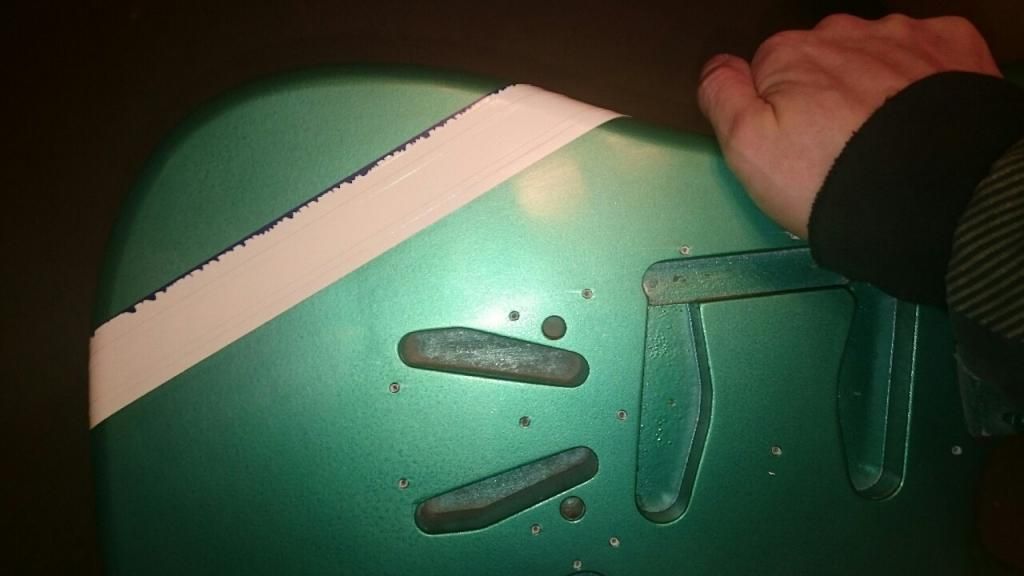
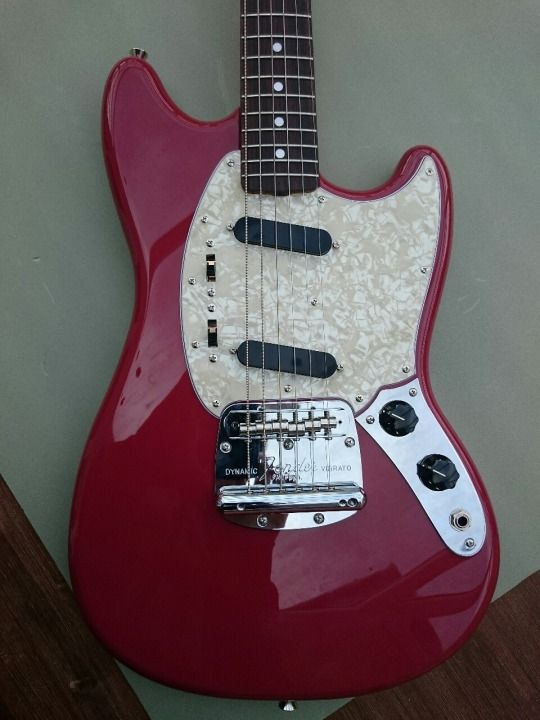
Thanks . The stripe paint has some ridges on the edges (where the paint met the tape) that I'm going to VERY carefully try wetsanding down today. I don't want to lose the line definition, but I also need to lower the ridges or I will need more topcoat to cover them. Then I'll use tinted clearcoat to yellow the stripes. Then wait....then sand and buff. Headstock is done so I'm waiting a few weeks for the nitro to cure and then sand, buff and decal.
singlepickup24 wrote:Beautiful! Anything left to do?
Thanks . The stripe paint has some ridges on the edges (where the paint met the tape) that I'm going to VERY carefully try wetsanding down today. I don't want to lose the line definition, but I also need to lower the ridges or I will need more topcoat to cover them. Then I'll use tinted clearcoat to yellow the stripes. Then wait....then sand and buff. Headstock is done so I'm waiting a few weeks for the nitro to cure and then sand, buff and decal.
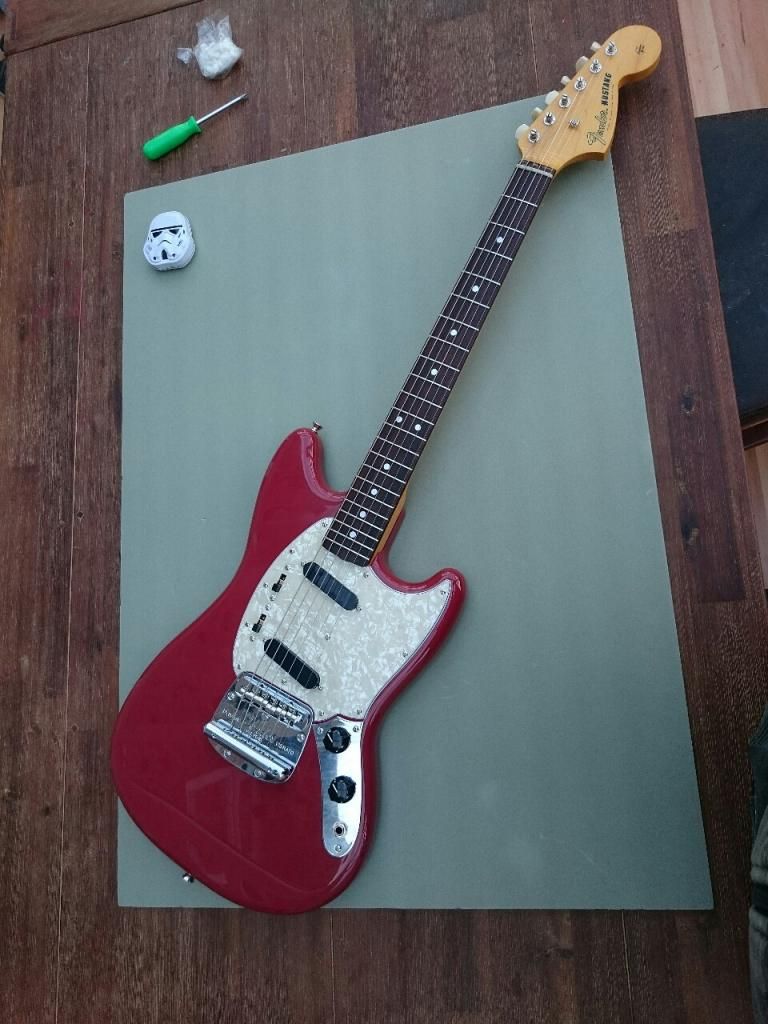
Very pleased with progress so far.
I'd leave a tiny bit of a ledge on there and level it out with the clear polishing.
singlepickup24 wrote:Beautiful! Anything left to do?
Thanks . The stripe paint has some ridges on the edges (where the paint met the tape) that I'm going to VERY carefully try wetsanding down today. I don't want to lose the line definition, but I also need to lower the ridges or I will need more topcoat to cover them. Then I'll use tinted clearcoat to yellow the stripes. Then wait....then sand and buff. Headstock is done so I'm waiting a few weeks for the nitro to cure and then sand, buff and decal.
Very pleased with progress so far.
I'd leave a tiny bit of a ledge on there and level it out with the clear polishing.


. The stripe paint has some ridges on the edges (where the paint met the tape) that I'm going to VERY carefully try wetsanding down today. I don't want to lose the line definition, but I also need to lower the ridges or I will need more topcoat to cover them. Then I'll use tinted clearcoat to yellow the stripes. Then wait....then sand and buff. Headstock is done so I'm waiting a few weeks for the nitro to cure and then sand, buff and decal.