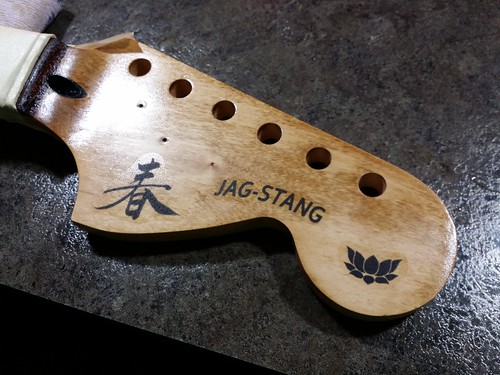
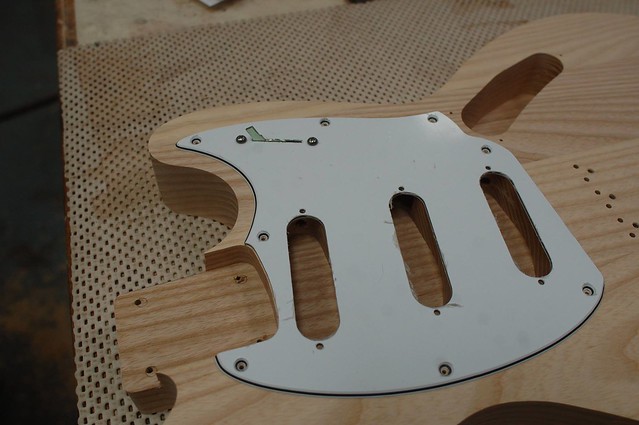
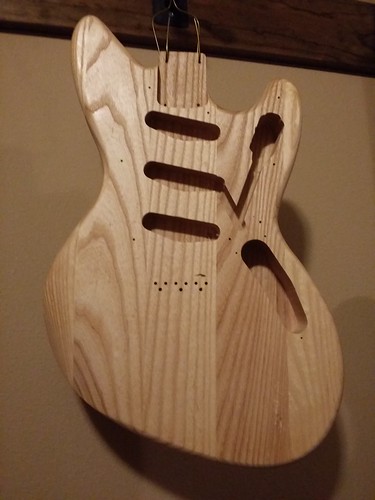
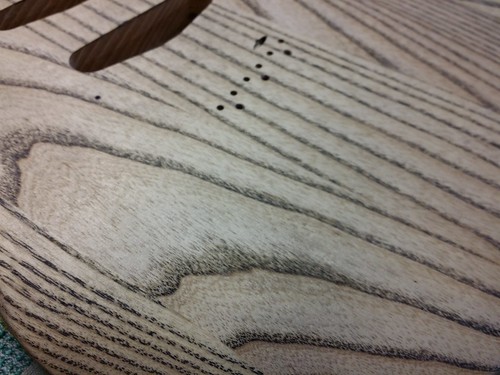
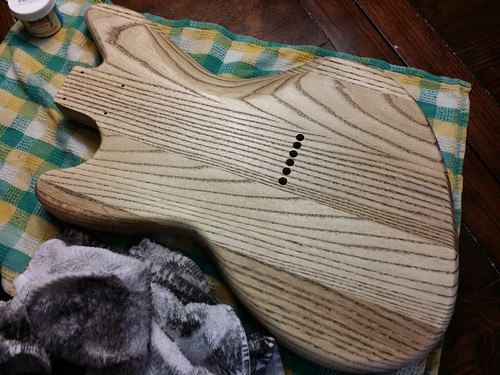
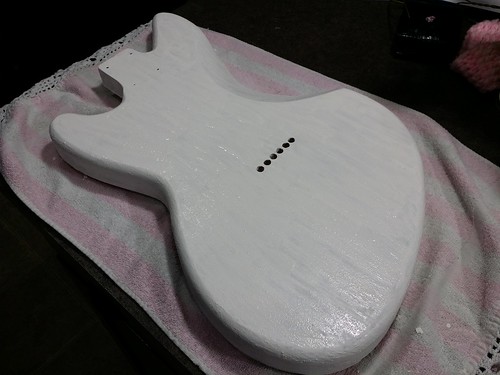
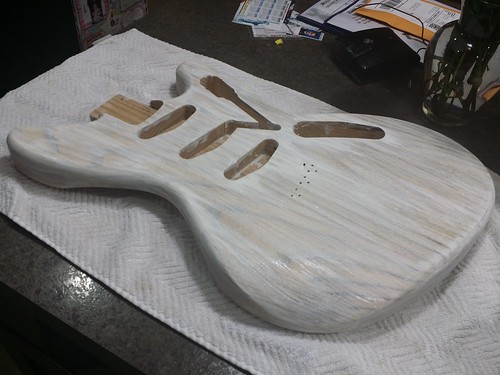
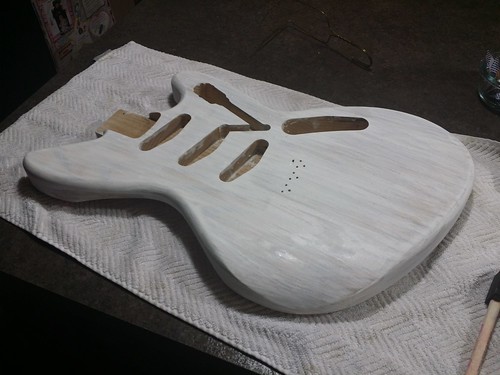
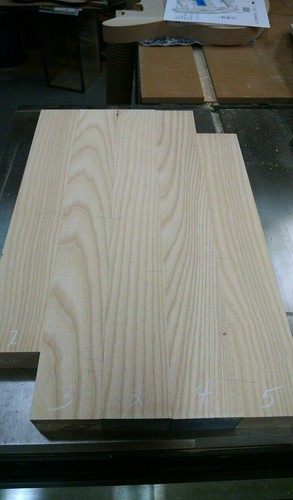
I have been digging my custom full scale Jag-Stang that I now have two others in the work. The (to be) walnut stained one and now this one. I asked Scott to make me a multi piece ash body because I am going to paint it white with milk paint and distress it before decoupaging it. This one will just have a bridge humbucker. I might put a kill switch where the toggle is on my other two just for that option. (I have some old video game controller buttons I could use.)
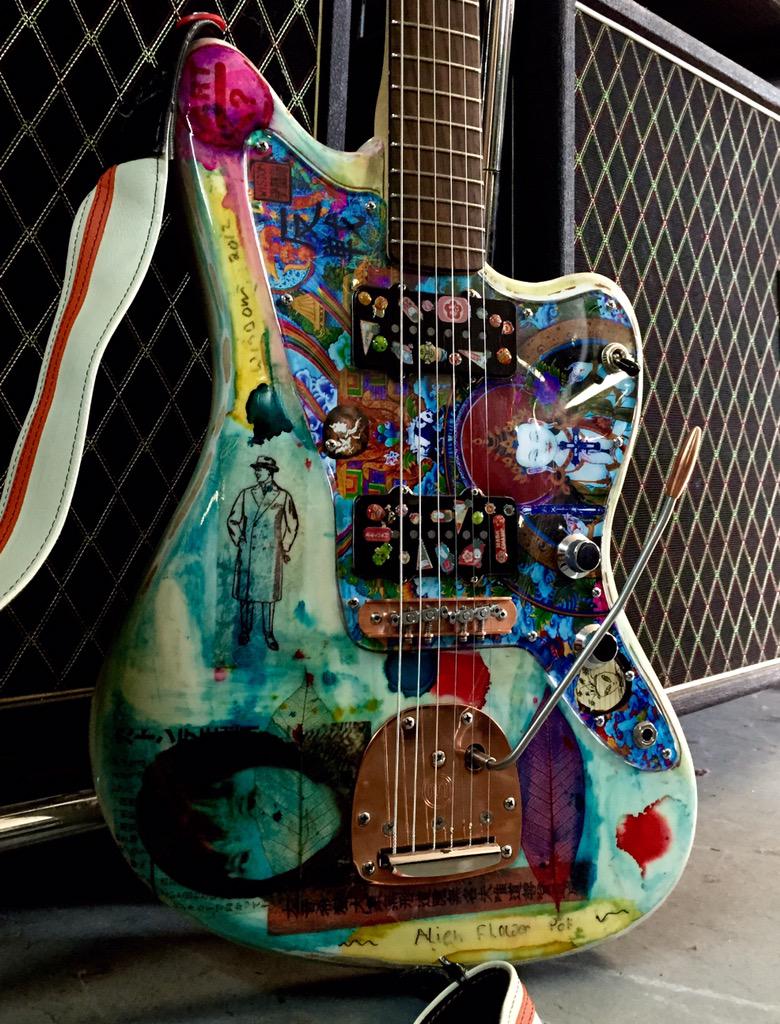
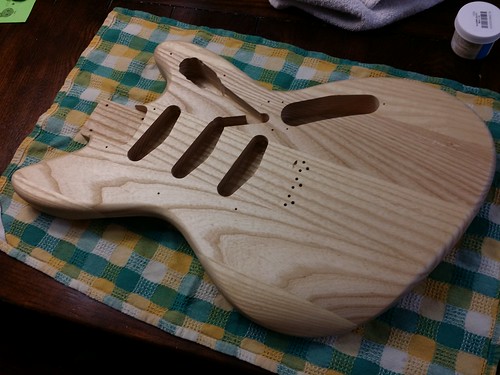
Here is progress. I am excited about this one because I am going to treat it like an art project vs trying to do a typical finish. The painter who worked on a couple of Nels guitars inspired the idea.
Nice work, What size round over bit did you use on the edges?
I'm also curious how heavy the body cam out to. I'm doing three right now, and there was a huge difference between one of the bodies and the other two. Almost 2 pounds.
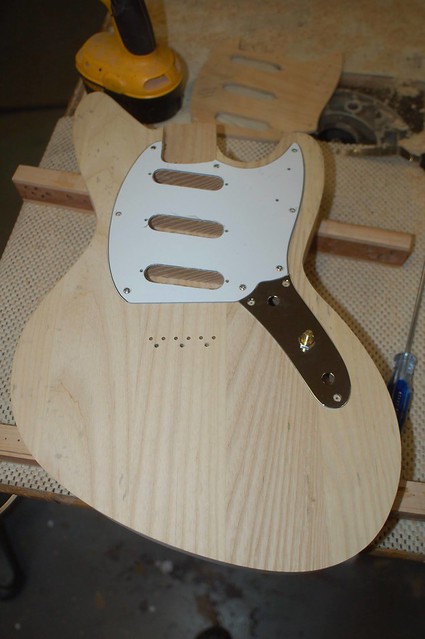
Scott says he used 3/4 like a strat for roundovers.
Weight is so hard with bodies because the same wood can be vastly different. I don't know what makes one alder body weigh more or less than another. Seems like it is just luck. I honestly don't mind heavier bodies personally. Probably because I started on bass guitar first in junior high before guitar so bigger and heavy kind of go with those.
HNB wrote:...Weight is so hard with bodies because the same wood can be vastly different. I don't know what makes one alder body weigh more or less than another. Seems like it is just luck. I honestly don't mind heavier bodies personally. Probably because I started on bass guitar first in junior high before guitar so bigger and heavy kind of go with those.
That's why the debates over which wood has what tone are moot, at least in electric guitars. Each tree of the same species is a little different due to climate, soil, etc....how long ago the tree was cut makes a difference. Newer cut is wetter and heavier than wood that's sat around a while or that's been dried.
Nevertheless, some species are always gonna be heavier (Mahogony) than others (Poplar). Yer good; don't sweat the small stuff.
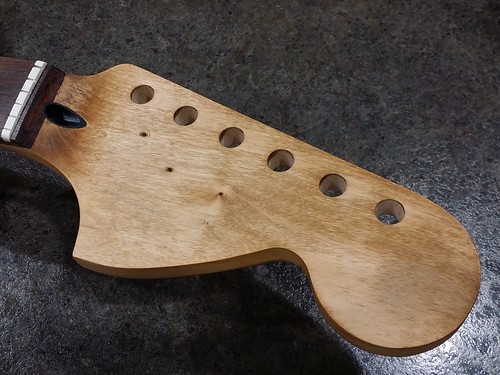
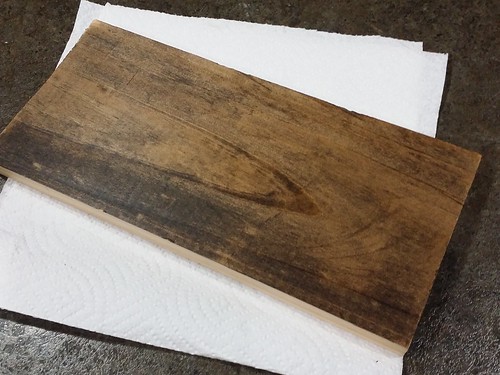
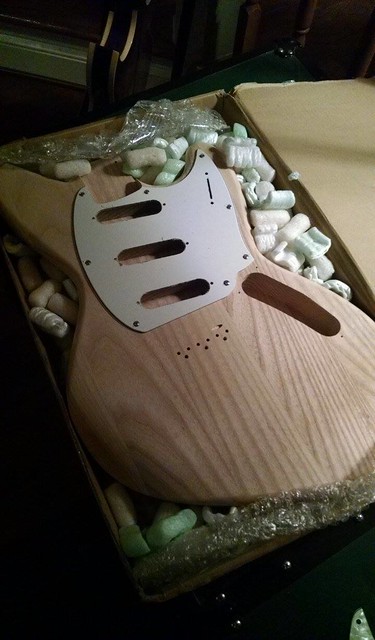
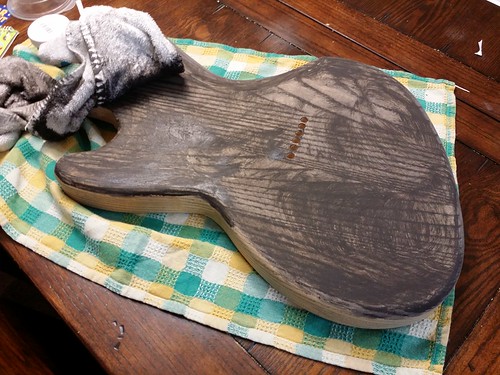
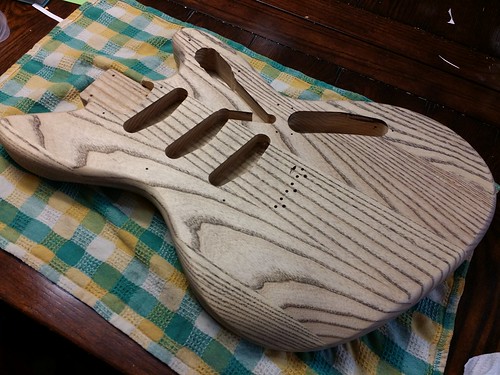
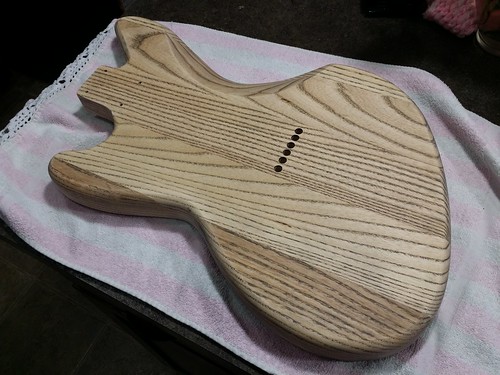
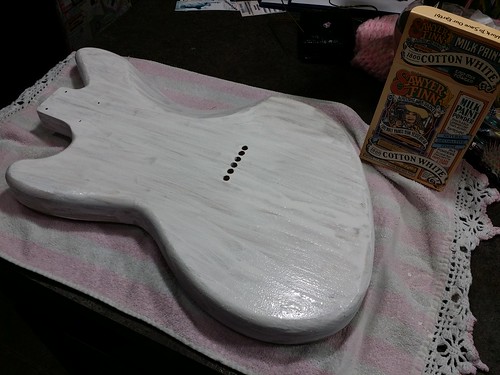
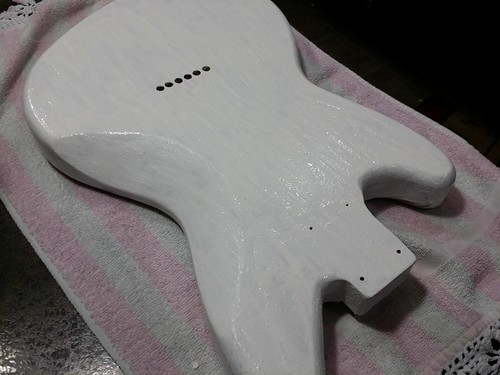
I got the body today. I sealed it with water based spar urethane. Once dry, I will rub some black Rockler wood filler to fill the grain. White wash will follow that.
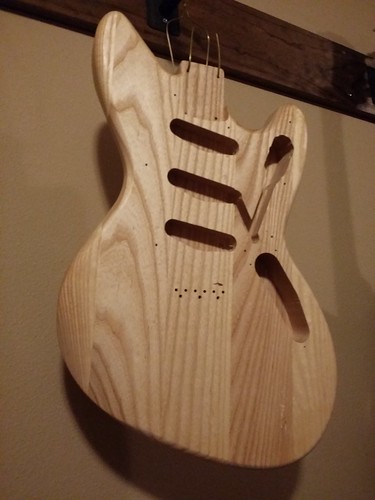
Black grain filler applied. I took the sealed body and rubbed the black filler on and then used a damp cloth to wipe off the extra. Looks pretty good to me. Helps the grain stand out more. Going to let it dry before I hit it with more sealer so when I white wash it, the black doesn't rinse out hopefully.


 1 by Hentai No Baka, on Flickr
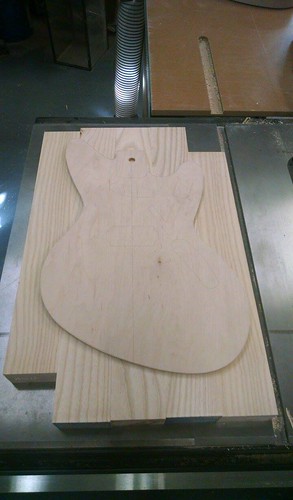 2 by Hentai No Baka, on Flickr
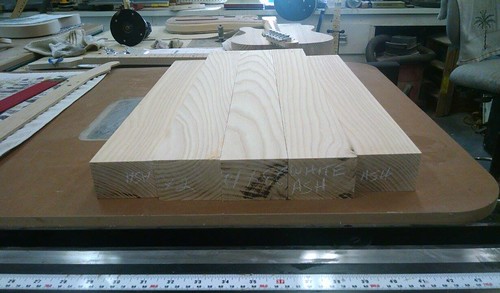 3 by Hentai No Baka, on Flickr
 4 by Hentai No Baka, on Flickr
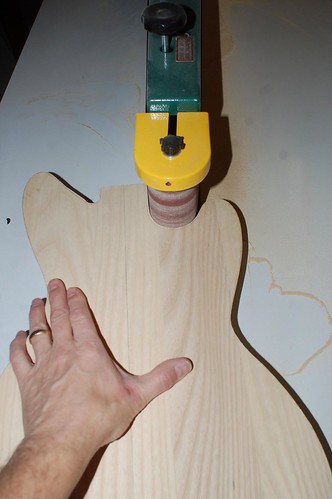 5 by Hentai No Baka, on Flickr
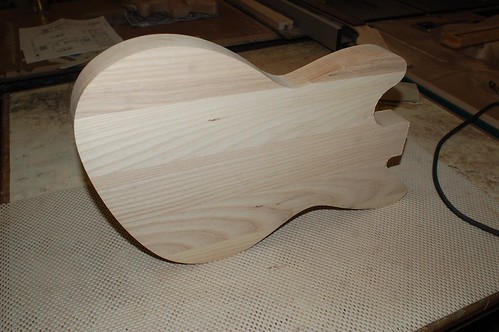 6 by Hentai No Baka, on Flickr
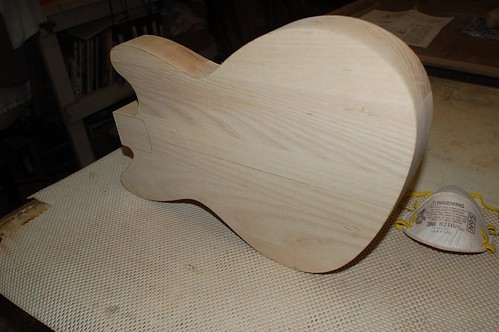 7 by Hentai No Baka, on Flickr
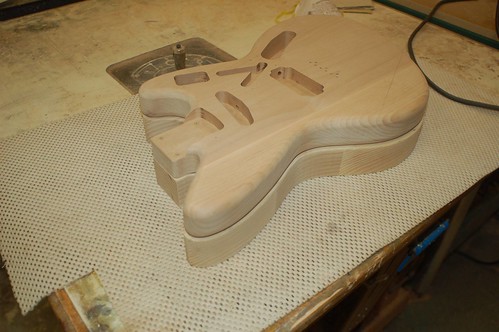 8 by Hentai No Baka, on Flickr