building a neck

Painting? Routing? Set-up tips? Or just straight-up making a guitar from scratch? Post here, and post pics!

Moderated By: mods

User avatar
robert(original)
.
.
Posts: 7174
Joined: Thu Apr 20, 2006 12:30 pm
Location: somewhere in the midwest

building a neck

Post by robert(original) »

so i finally got around to grabbing the camera. this is what i have done so far for the dano copy,
its kinda a take off on the body and the old skool mandolins with the f scroll at the top.
first off, establish the center line, ultimatley thats where your truss rod will be, and if you are doing a fender styled headstock then the line should interesect with the g tuner.
Image
next, trace the template and start bandawing it out to make another template(never use your master template except to make backups)
Image
heres the mdf temp i will use.
Image
then copy that to the board and do the same as with the template.
Image
Image
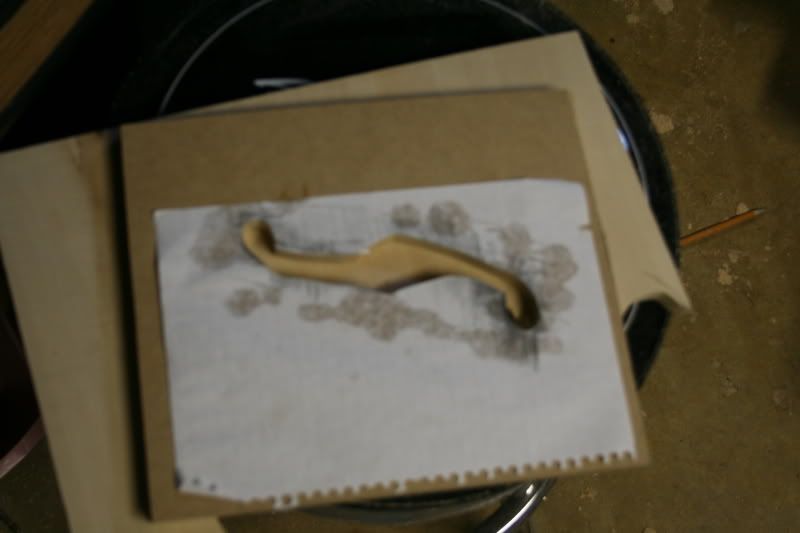
bandsaw the design a bit.
Image
and then sand like a mother fucker.
Image
this is all for today. i will probly pick back up on monday or tuesday, thats when i will lay the rod and glue on the fingerboard. i may start to take down the headstock then too. but.... anywho
peace
User avatar
Hurb
Peanut the Kidnapper
Posts: 7184
Joined: Mon Apr 17, 2006 8:47 pm

Post by Hurb »

nice one mate! i will defo be checking this out in the future so i can make my own headstock design on my own necks someday!
User avatar
Aug
Best Poster 2010
Posts: 1335
Joined: Mon Apr 17, 2006 7:23 pm

Post by Aug »

robert: if you'll make a 1/4" template, not only could you route that neck into shape quickly, but you could make multiple copies. Great work, BTW! :D
User avatar
Mr Mustache
.
.
Posts: 651
Joined: Wed May 03, 2006 9:47 pm
Location: Norfolk, Virginia
Contact:

Post by Mr Mustache »

really awesome, man i can't wait until i see it done!
User avatar
Hurb
Peanut the Kidnapper
Posts: 7184
Joined: Mon Apr 17, 2006 8:47 pm

Post by Hurb »

iam itching to see more of this dude!!
User avatar
robert(original)
.
.
Posts: 7174
Joined: Thu Apr 20, 2006 12:30 pm
Location: somewhere in the midwest

Post by robert(original) »

you won;t see that neck, i recut it, i wasn't quite happy with the way it was all comming together so i scrapped it for another project for another day and picked out a nicer peice.
im waiting on two more bits from routerbits so i can, get the truss rod slot cut out and so i can finish your strat trem templates! i haven;t forgot, i have just decided to do it differently.
User avatar
ultratwin
The 25.5" subversion
Posts: 6731
Joined: Tue Apr 25, 2006 12:47 pm
Location: Seoul

Post by ultratwin »

Funky, man! the old Dano heads earn their own place in history.

Keep us posted, things are looking cool already.
User avatar
robert(original)
.
.
Posts: 7174
Joined: Thu Apr 20, 2006 12:30 pm
Location: somewhere in the midwest

Post by robert(original) »

while i wait on a bearing guide, i decied to get some other things done as well as a lil bit on the neck.
first, my plans to build a hollow body tele with a completely fretless neck.
it is a poplar body and i will get som spruce to top it with. don;t know about the pups yet,
here is the body so far.
Image
and here is the neck.
its a squire tele neck that i hate, its rosewood on a tele, BLEHHHH!
so i ripped out all of the frets and sanded the crapy finish off.
i am putting maple in the slots and widing them to about 3-4 mms(pretnoticeable) and then putting in blood wood and purple heart at the 3thrd, 5th, 7th and so on.
here is progress, day one.
Image
Image
Image
now here is the current specs of the neck.
i measured the slow i wanted and where i would have the sounturs.It will be a curvey so the countours are prett severe in some places.
first off i marked everything.
Image
then i took it to the table router and had my dirty was with it. i will use this same technique to shave the back of the neck down.
Image
here is the aftermath
Image
then it was on to shaping it some more.
its hard to explain but when its done youll understand.

Image

Image

Image
User avatar
Hurb
Peanut the Kidnapper
Posts: 7184
Joined: Mon Apr 17, 2006 8:47 pm

Post by Hurb »

nice, i might have to try a hollow body now.
User avatar
robert(original)
.
.
Posts: 7174
Joined: Thu Apr 20, 2006 12:30 pm
Location: somewhere in the midwest

Post by robert(original) »

in the truest sense, its not a hollow body hurb, its just chambered.
with a really hollow body you have to have the wood at some sort of thickness and all this crap and you gotta make kerfing which is a pain
User avatar
Hurb
Peanut the Kidnapper
Posts: 7184
Joined: Mon Apr 17, 2006 8:47 pm

Post by Hurb »

true nuff. its a big waste off wood haha but i think i hollow offset would be kinda kool.
a66jagdream
.
.
Posts: 176
Joined: Fri Apr 28, 2006 1:48 pm
Location: North Carolina

Post by a66jagdream »

robert(original) wrote: i am putting maple in the slots and widing them to about 3-4 mms(pretnoticeable) and then putting in blood wood and purple heart at the 3thrd, 5th, 7th and so on.
Wow that a cool idea. Great work man!
User avatar
robert(original)
.
.
Posts: 7174
Joined: Thu Apr 20, 2006 12:30 pm
Location: somewhere in the midwest

Post by robert(original) »

here is the progress made today with chips neck(dano copy)
i did the slope today(by hand, took forever)
cut the truss slot and drilled the hole for truss access.
currently im woking thefingerboard into the shape i want.
this is the neck without the rod. (sorryt for the shitty pics. i tink it was just sawdust on the lense)
Image
here is the neck with the rod in it.
Image
here is the slope and the access hole.
Image
Image
User avatar
bassintom
.
.
Posts: 1474
Joined: Sun Dec 24, 2006 3:00 am
Location: between rock & hardplace, N.J.
Contact:

Post by bassintom »

looks good.i would never even attempt to make a neck.
dodgedartdave
.
.
Posts: 904
Joined: Fri Apr 21, 2006 8:12 pm

Post by dodgedartdave »

bassintom wrote:looks good.i would never even attempt to make a neck.
agreed. I've always wanted to but I don't know If I'd ever try it. Looking great! I like your headstock shape too. Very original.
User avatar
robert(original)
.
.
Posts: 7174
Joined: Thu Apr 20, 2006 12:30 pm
Location: somewhere in the midwest

Post by robert(original) »

thats why they call me robert original mutha fucka!
actually they don;t i started calling myself that after someone stole my orginal handle at the js. " robert"
i swear to god people if i can do it, you can do it.
the only tool that i use on the neck that i don;t use for anything else(normaly) are the spoke shaves.
everything else is the same.
if you have a router and some time, give it a shot.
im not putting this up just to say.
HEY LOOK WHAT I CAN DO.
im trying to give people ideas about what they can do, if someone sees someonthing i do and has a better idea or route on doing it then thats fantastic.
that piece of maple that ended up being my fretboard and neck costs me a whole 5.37 or so
thas basically a pack of smokes. so messing up is no problem. if its trash, then.
oh well., im out a pack of smokes.
come peoples you can do this shit, i believe in you. :D
User avatar
robert(original)
.
.
Posts: 7174
Joined: Thu Apr 20, 2006 12:30 pm
Location: somewhere in the midwest

Post by robert(original) »

here is some more progress on the tele and the neck
i don;t konw why i put the tele in this thread but here it shall remain.
this is the block of wood i used to make the top for my tele
i used a crappy lil tooth saw, it took about 2 hours
Image
here it is getting glued, its already cut out with the band saw a bit.
Image
Image
here is where i started to take it down a bit.
Image
Image
this is th f hole template that i made from tracys washburn
Image
for all of the non believers that bass wood has a decen grain , i have this to show you.
Image
Image
its not bad for being basswood, it would not look bad as a natural guitar.
or even a two tone sunburst......

here is what i have done with the neck
i layed the truss rod in, nice n stug,
then i put a layer of tape over the rod and slot on the neck, thten i apply a decent layer of glue.
Image
then i remove the tape and put the fingerboard on.
Image
now i left out alot cuz i had no one to tak pics for me, but basically.
get two small nails, put one at the 3d fret and one at the 12th or so, and put the holes from the nails in the fret slots.
thats so if you ever never extensive work done, the board can be removed failry easily.

this is the beast clamped up
Image
a66jagdream
.
.
Posts: 176
Joined: Fri Apr 28, 2006 1:48 pm
Location: North Carolina

Post by a66jagdream »

Damn, i'd kill tou have your equipment, then maybe i could do this project guitar i drew up about 3 years ago.
User avatar
robert(original)
.
.
Posts: 7174
Joined: Thu Apr 20, 2006 12:30 pm
Location: somewhere in the midwest

Post by robert(original) »

everything i have except the drum sander was less than 100.00 bucks at menards.
it only took three guitars and a final check from woodys to get all of that shit, except for some of the hand tools i had to borrow money for it.
More Cowbell
.
.
Posts: 6206
Joined: Thu Apr 20, 2006 3:31 am
Location: Jefferson, GA

Post by More Cowbell »

Nice work! your almost as good as b-sp0t. :wink: